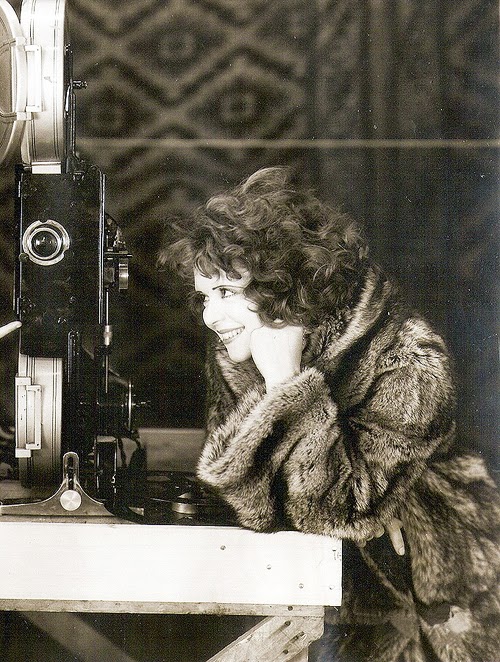
Putting together an online class might sound glamorous, but believe me, it isn't. At least not in my world. I hardly ever sit around in my mink coat with that sexy just-got-out-of-bed-looking-perfect hair and makeup smiling lovingly at the camera. This is probably closer:
I am a one woman operation. It's just me here. Me and only me. That means I have to do things like try to take pictures of myself doing the micro macrame knotting. Sometimes I just don't have enough hands. So how does it work? Let me give you a peek behind the scenes: First I experiment with designs. And most of the time, what I start with doesn't look much like what I end up with. Take this cuff for example:
I shouldn't call it a cuff, really, because I never finished off the ends. It wasn't up to snuff, but I did learn quite a bit from it. See that top edge? That's where I attached all of the cords for the piece using larks head knots on a holding cord. Turns out, that doesn't work very well. The holding cord doesn't have enough body to support the knots without deforming and losing the crisp lines I was looking for. So, not a success, but lesson learned. The row that looks like x's worked well, as did the straight lines of double half hitch knots. Good to know. Beads work. LOVE the scrolls at the bottom.
So, how to attach all those cords to start? I could use something other than a cord, like a piece of wire, but it would have to be substantial to do what I want it to do and then how would that work for my finished cuff? It wouldn't. The trick, then, is to come up with a different way to attach the cords...
Aha! That lead to this fun beaded edging and I really like it! Problem solved. And I love the addition of the leaf outlines in the body of the cuff. But now the bottom edging I had planned, the scrolls, didn't seem to work. It just didn't "go" with the rest of this pattern. Tuck that away for the next cuff project...
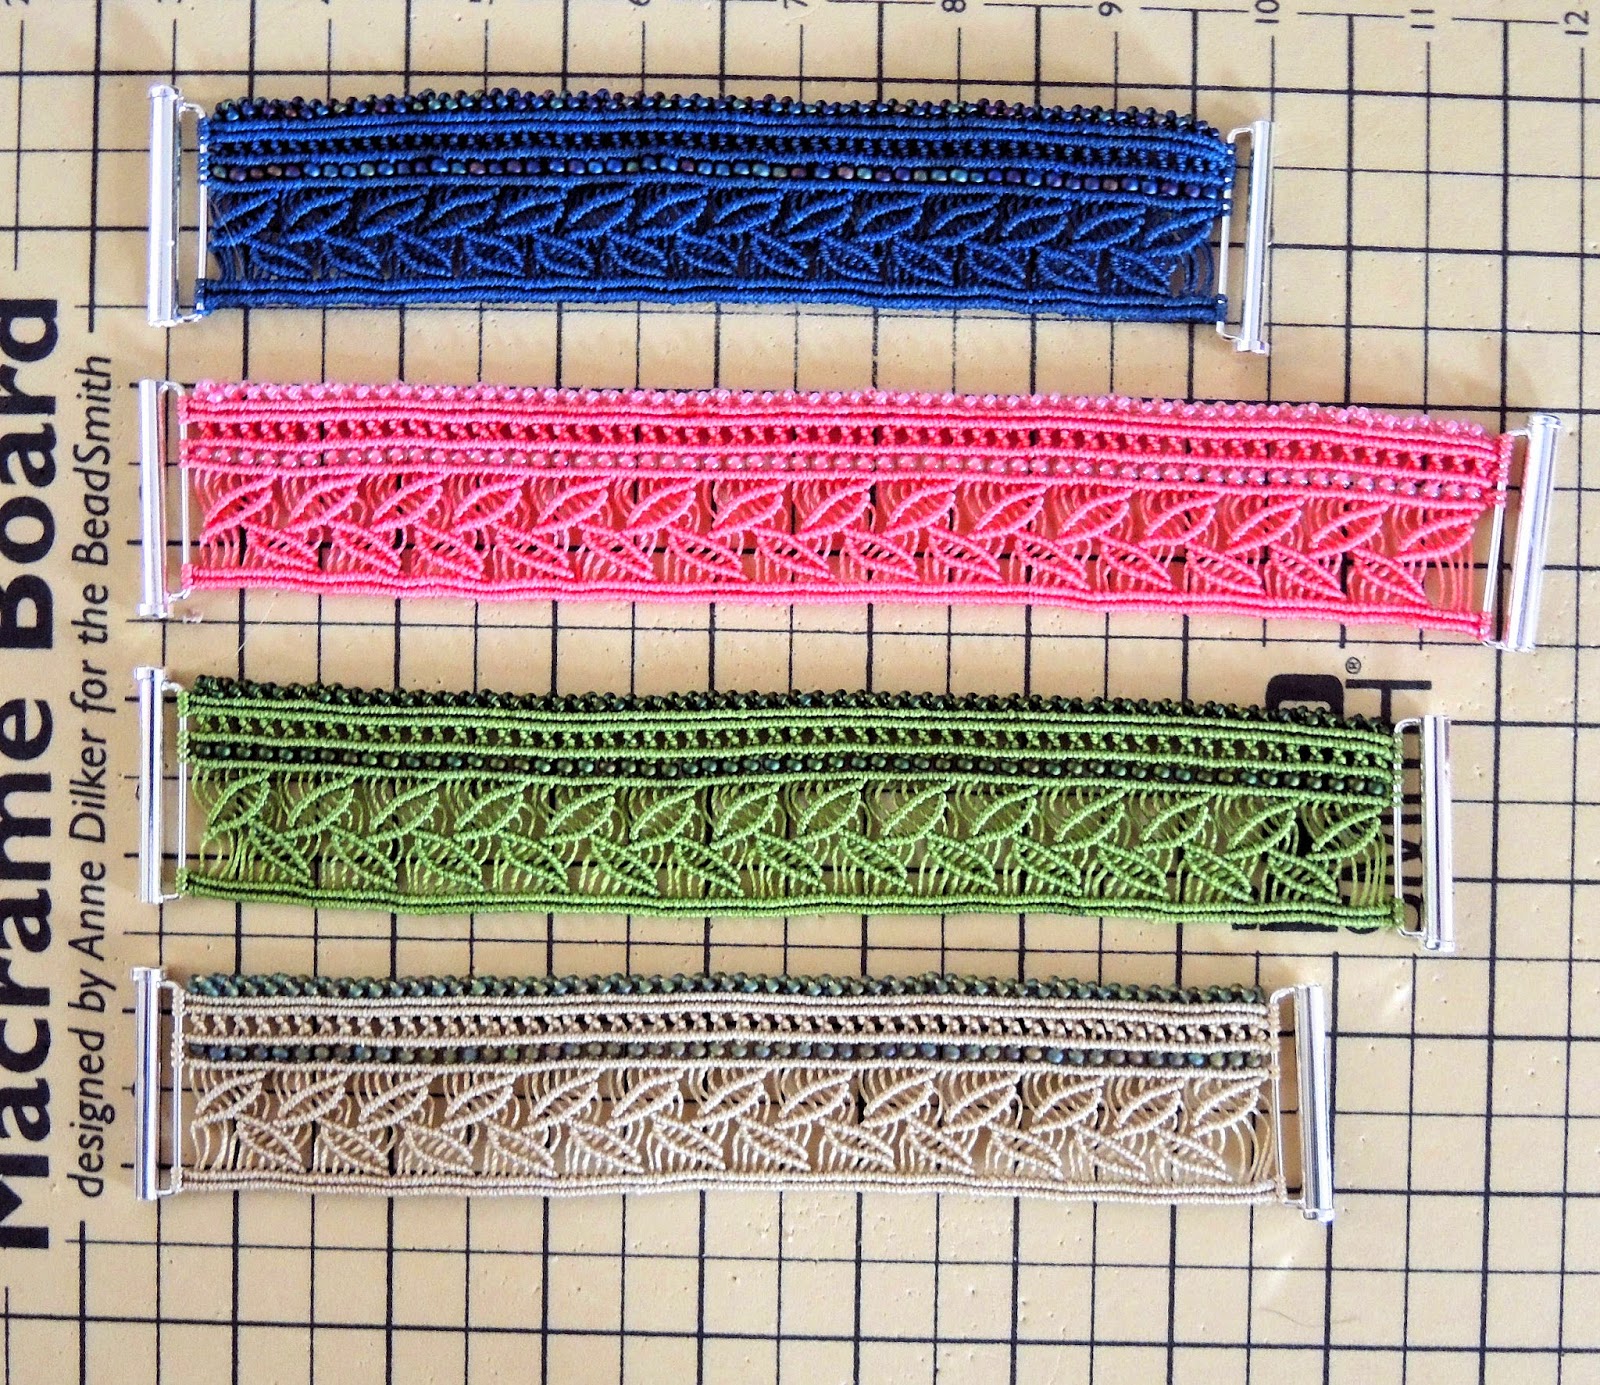
Well, yay!! Now that I have a design for my class, it should be all easy from here. Right? Not so, my friend. The navy cuff I made first is very small and barely fits my small wrist. That probably won't work for most folks, so I decided I'd better add one pattern repeat. I added the extra cords and did the cuff again in coral (and don't even ask me about the decision process behind the choice of coral - sheesh). Anyway, the cuff turned out huge! What? How did that happen?
Turns out the pretty navy blue cord I used is not the same size as the c-lon or superlon bead cord I usually use. It says it is .5mm cord, as do the c-lon and superlon, but the proof is in the pudding, kids. The blue one and the green one are made with the same number of cords. I did them both within days of one another, so I can safely assume that my knotting is probably fairly consistent. The only difference is the brand of the cord. Another lesson learned.
This all led me to making one more cuff to make sure my size assumptions were correct. I have to be sure before I put it in a class - people are counting on me to know what I'm talking about!
Oh, and taking pictures of all of the cuffs together like that not only led me to analyze the flaws in each one and compare and contrast, but also got me off on a tangent taking pretty pictures...
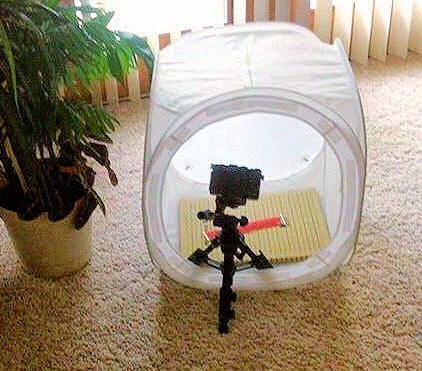
I'm so easily distracted. Seriously, I have the attention of a toddler (at best). But the rest of the class should be easy going, right? Uh huh. You obviously forgot who you were dealing with here. So, I'm doing my thing, knotting and stopping to take pictures and moving around the house with my work board and my camera and my light box following the natural light...
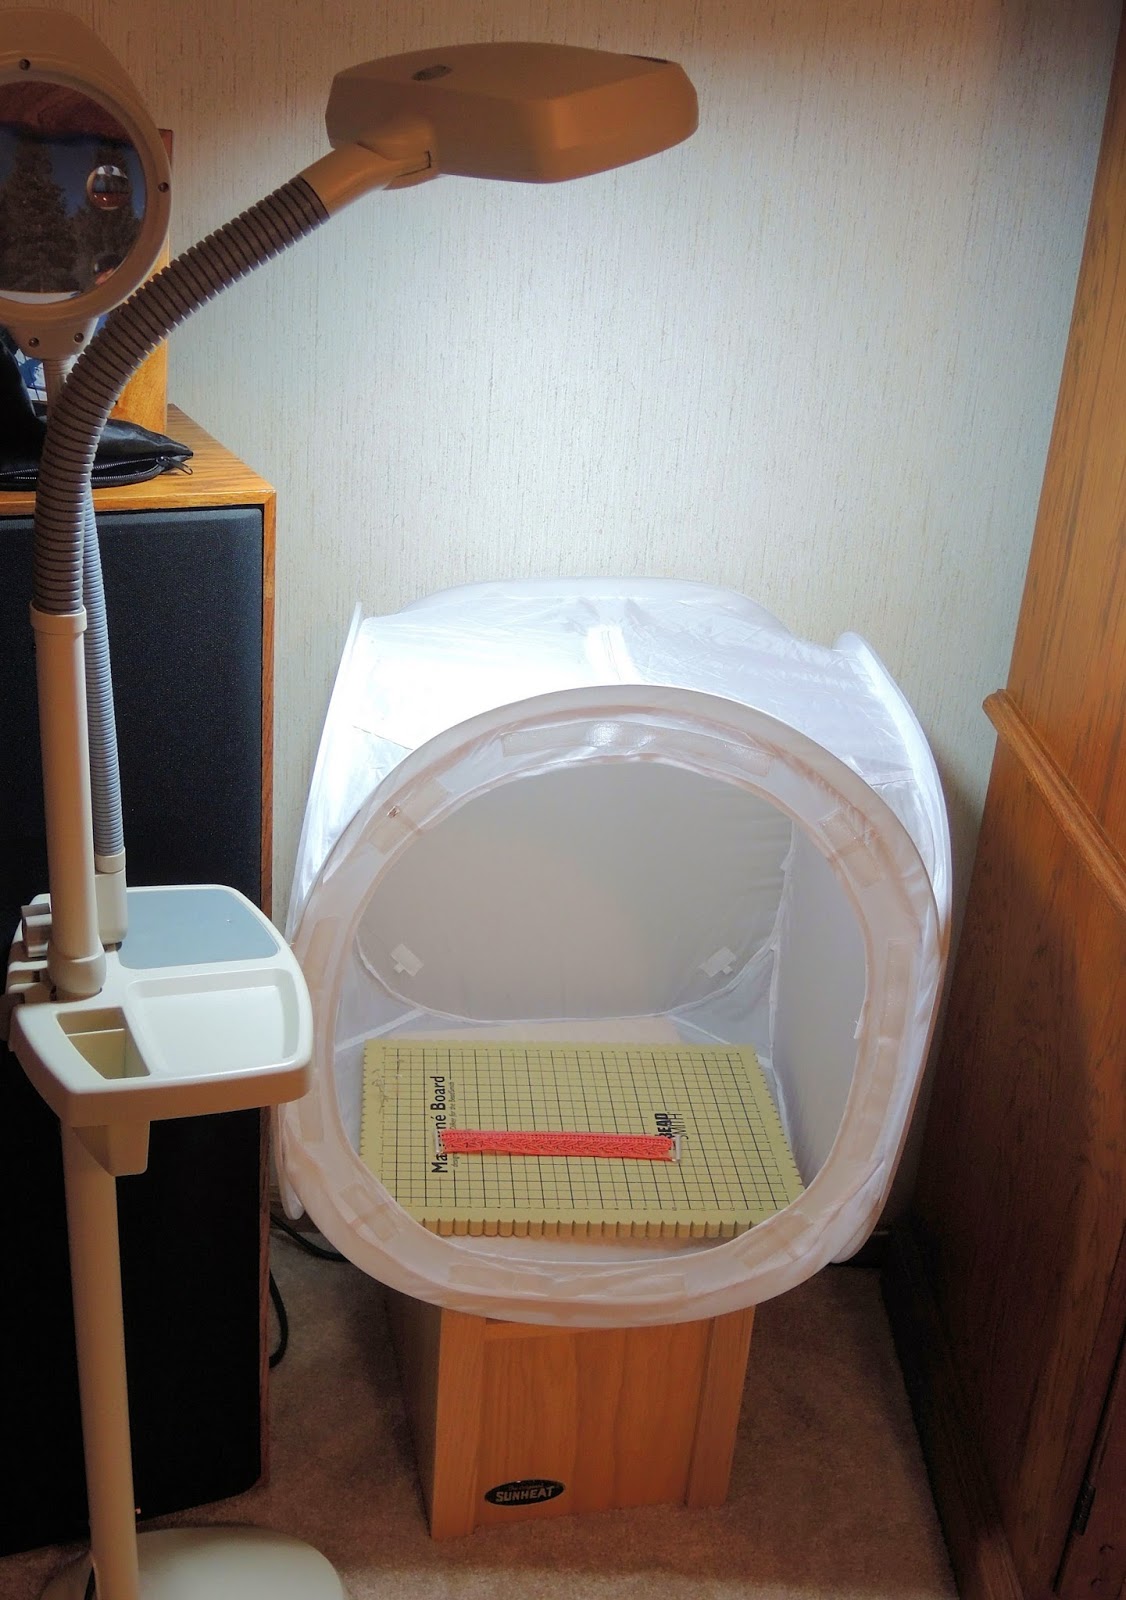
Because if I don't take advantage of the natural light, then I have to move to my even-more-ghetto setup involving a daylight bulb and a light box sitting on a speaker. True story.
Throw another couple of kinks into the mix like saying the wrong knot in one of the video clips - you wouldn't think that would be such a big deal, would you? But I didn't catch it until I was putting together the class. Which meant I'd already finished the bracelet and couldn't just reshoot that little bit. I had to make a whole new bracelet and work it clear up to the step where I messed up in order to refilm those few minutes. And that's why I have a green cuff. I could have made another one in coral so that the video clip would have been exactly right, but I don't really like coral (back to that whole decision making thing when choosing the color in the first place) and more than that, I really don't like making the same thing twice. Especially not back to back. So if you see the class, I don't want to hear a word about the two cuff colors. I meant to do that.
*Sigh* Are you still with me? I wonder sometimes if it's just me or if other people's lives go like this? You should know, it's a minor miracle I ever get a class produced! Even after all this, I had to redo the narration twice because you could hear me inhaling. I'm not a loud breather usually - really, I'm not! You wouldn't have known that from the first go-round, though. And I learned (we won't go into how I learned) that I can't re-record just part of the class without it sounding like two different women did it (call me Sybil). And it turns out if I record a 30 minute class twice through back to back it makes my throat a little hoarse (not sure why that would be true, either, because believe me, I've talked way more than an hour straight before). So if you notice my voice getting a little funny towards the end of the class, I don't want to hear about that, either. I meant to do that.
After all that, though, I did manage to get the class to the editor and she gave it a thumbs up! It might be available late this week - I'll keep you posted!


Great post! I laughed through it with you, not at you - because if I ever did an online class I would be the same way, right down to the ghetto light box setup. I love the cuff in all of the colors, and am very excited for the class!
ReplyDeleteHahahaha - thank you for laughing with me ;)
DeleteThis post is spectacular and I agree with Kim, I have laughed all the way through. No disrespect for all you work, but you have brought all of a great visual of what it takes to produce a class. This is so good. And as you know, I love it. I makes you a real person. Thank you.
ReplyDeleteThank you, Donna :) I'm entirely toooooo real sometimes!
DeletePS: And cannot wait, big decision on what to use. Also Sherri, you know I just worked on the Marquise, and I notice a difference between C-Lon and S-Lon. S-Lon has more body and seems a bit bigger. C-Lon is softer and seems a bit smaller. May be just me.
ReplyDeleteWhat a great behind the scenes look! I don't know why but I always assumed that to record a class, you would go into a studio where someone else would run the sound and camera.
ReplyDeleteDon't I wish...
DeleteReally enjoyed this post in which you describe your design process and poke fun at yourself at the same time. You need to have a link to this post, or a shorter version of it, in your shop's About section. It's great!
ReplyDeleteThis is why I stay away from making videos, tried it. The process of creating a new patterns is quite funny actually in retrospection but they just make me go mad when I am working on it
ReplyDeleteOh my trust me though, this is how my life goes!! Don't feel bad I too have the attention span worse than a toddler!! I will walk into a room and forget why I went in there & have to go back to where I started to remember! lol Anyways great write up. I can't imagine the work & prep that goes into preparing for a class, but now I have an idea.. Love the cuffs, they really do look fabulous!!
ReplyDeleteYou amaze me. That is all :)
ReplyDeleteHahaha, yes, well I amaze myself sometimes, and usually not in a good way ;)
DeleteI like it. Thank you.
ReplyDeleteΓεια, είμαι από την Ελλάδα και εκτός των άλλων που αγαπώ να φτιάχνω, είναι και τα κοσμήματα μακραμέ. Λατρεύω αυτά τα βραχιόλια και έχω καταλάβει την τεχνική τους, αλλά δεν είμαι σίγουρη πως γίνεται το τελείωμα τους. Δεν θέλω να τα αντιγράψω αλλά να φτιάξω τα δικά μου σχέδια και χρώματα. Θα μπορούσατε να με βοηθήσετε ; Ευχαριστώ!
ReplyDeleteI loved this blog! My daughter and I are the same way... It IS amazing we get anything done (but we manage), and yes... We MEANT to do that!
ReplyDeleteHa ha - that was informative, interesting and amusing! Thank you for that, and for what you go through to put together a good class. I look forward to trying it!
ReplyDelete