My students weren't the only ones learning something during my micro macrame classes last weekend; I got some insight on the problems new knotters experience. We worked almost exclusively on the double half hitch (DHH) knot, and one of the most common issues was the knot ending up on the wrong cord - on the knotting cord instead of the holding cord. It's not always easy to tell that's happening unless you know what you're looking for, but it is easy to prevent.
So here I am all excited to share this wonderful invention with you and you're all like "Huh, why is she so excited about a piece of cardboard with some screws in it?" Because it's the greatest invention of all time - how's that! Okay, maybe not the greatest because the whole Internet thing is pretty good, too, but it's up there in the Top 20 anyway.
If you have to cut multiple cords of the same length, like the 50+ cords needed for my Leafy Cuff in Micro Macrame, you're going to love this. All you need is a piece of wood a little longer than the length of cords you need and 3 screws (or nails). This one has screws that have no grooves on the top 1/2" or so of the screw. I think you'd want to use screws like this or just nails - something that won't snag and catch your cord like a regular screw.
So take one screw and put it equidistant from both ends, off to one side. Then place the other two screws as far apart as you want the length of your cords to be, with the center screw in the center of them. So if you want 2 foot cords, you'll want to place each screw 1 foot from the center. It probably makes more sense if you look at my photo than for me to try to explain it.
In my example, I have screws set for 2 foot cords and 3 foot cords, as they are some of the most common lengths I've been cutting recently.
Isn't that great!? I'm telling you, you might not think it's all that fabulous, but if you had to sit here and measure out hundreds of 2 foot cords, you'd be gushing, too. Oh, and did you spy the little Dachshund nose in the beginning of the video? That's my supervisor.
A recap for using the micro macrame gizmo - make a knot in the end of your cord and put it over the center screw to anchor it. Pull your spool of cord out around the screws at the ends of the board. You will end up with two cords for every time you make a complete circle and go past the center screw so you can keep count if you need a specific number of cords.
Once you've reached the number you need, cut all of the cords at once by cutting right above the center screw.
You can easily cut 50+ cords all at the same time. You can thank me later.
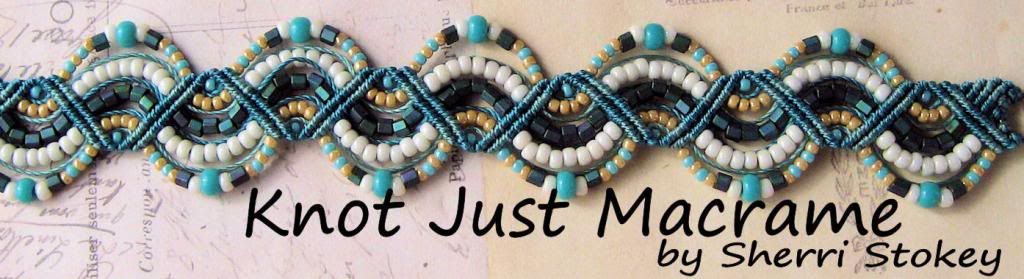
One thing that will make your finished micro macrame pieces look better is neatness. Those rows of tiny knots need to be as even and straight as possible if you really want the wow factor. In this design, I've used two rows of double half hitch knots to underscore the beaded edging at the top and again to finish off the cuff at the bottom. Keeping the rows spaced tightly together is a must. So, how do you get your rows close?
That's my nifty little tip for neater knotting. I hope it is useful for you.