Showing posts with label patinas. Show all posts

April 1, 2014

Experimenting With Epoxy Clay

messy craft table

I have supplies stashed around my house for projects I really want to try.  Someday.  That darned loom is taunting me from the corner of the closet and the torch fired enamel supplies have clearly demonstrated their superiority over me.  The kumihimo disk, on the other hand, is just hanging out waiting patiently.  I like that in a craft supply - patience.  

At one point I decided I'd have to give polymer clay a whirl.  I mean, some of those talented folks make it look so darned easy, surely even I could make something passable.  Right?  So I rushed out and bought some clay paraphernalia (okay, mostly I rushed to my laptop and ordered it, but I will admit to taking some liberties in the name of good storytelling). While searching for all the things I had to have, I came across epoxy clay and thought I had to have some of that, too.  

Months passed and more months and more months and..  well, you get the picture.  I actually did get a package of polymer clay out at Christmas time intending to make an ornament to preserve my grandson's adorable little hand print for posterity, only to discover that it was hard.  Well, I guess it took the pressure off me to use it, huh?

Anyway, I got a wild hair the other day and decided to mess with the epoxy clay.  Apparently since it's packaged in two parts that have to be combined before it will harden and set properly, it has a longer shelf life than polymer?  I don't know that for a fact, but my epoxy stuff was fine.  I worked the two parts together, then rolled little pea-sized balls and pressed it into bezels.  To get a smoother surface and get rid of any fingerprints, I dipped my finger in a little water and rubbed it over the surface of the clay.  It seemed to work pretty well.

Bezels filled with epoxy clay

You might have noticed the rather impressive array of mineral powders in that first photo at the top of this post?  That was another little collection/obsession of mine - mineral makeup.  I don't know why I thought I needed to have every color under the sun, nor why I hung onto it for all these years.  Apparently it was just for this project.  I smeared it on the surface of the clay and did some rather impressive blending, too.

Bezels filled with epoxy clay with mineral powder added

I used some stamps I had laying around here to stamp a design into each of the little charms.  I didn't have too much trouble with the stamps sticking in the clay, and that might have been because of the mineral powder.  I even dug out my letter stamping set and stamped words into the clay on some of the pieces.

Stamping the clay

Stamped charm

Stamped charm

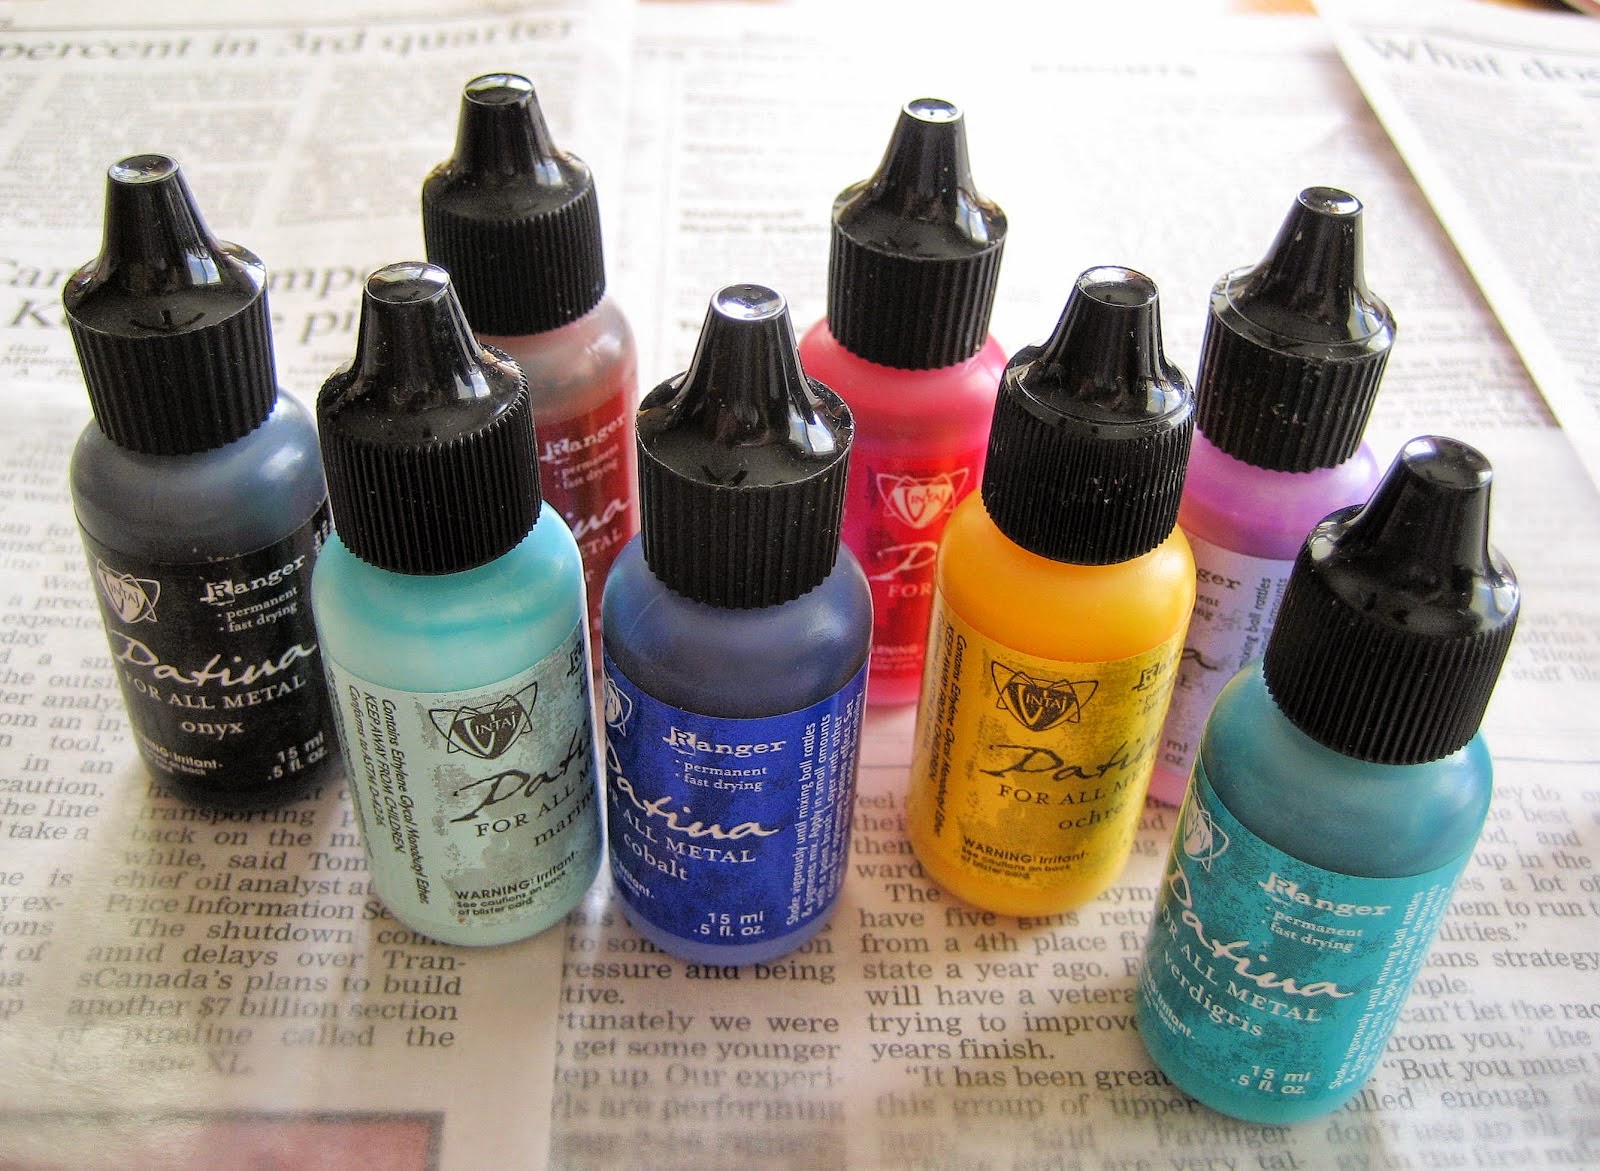
I really like the sheen and the subtle colors, but I was hell-bent on experimenting and using more of my craft supplies, so I busted out the Vintaj patinas.

Vintaj patinas

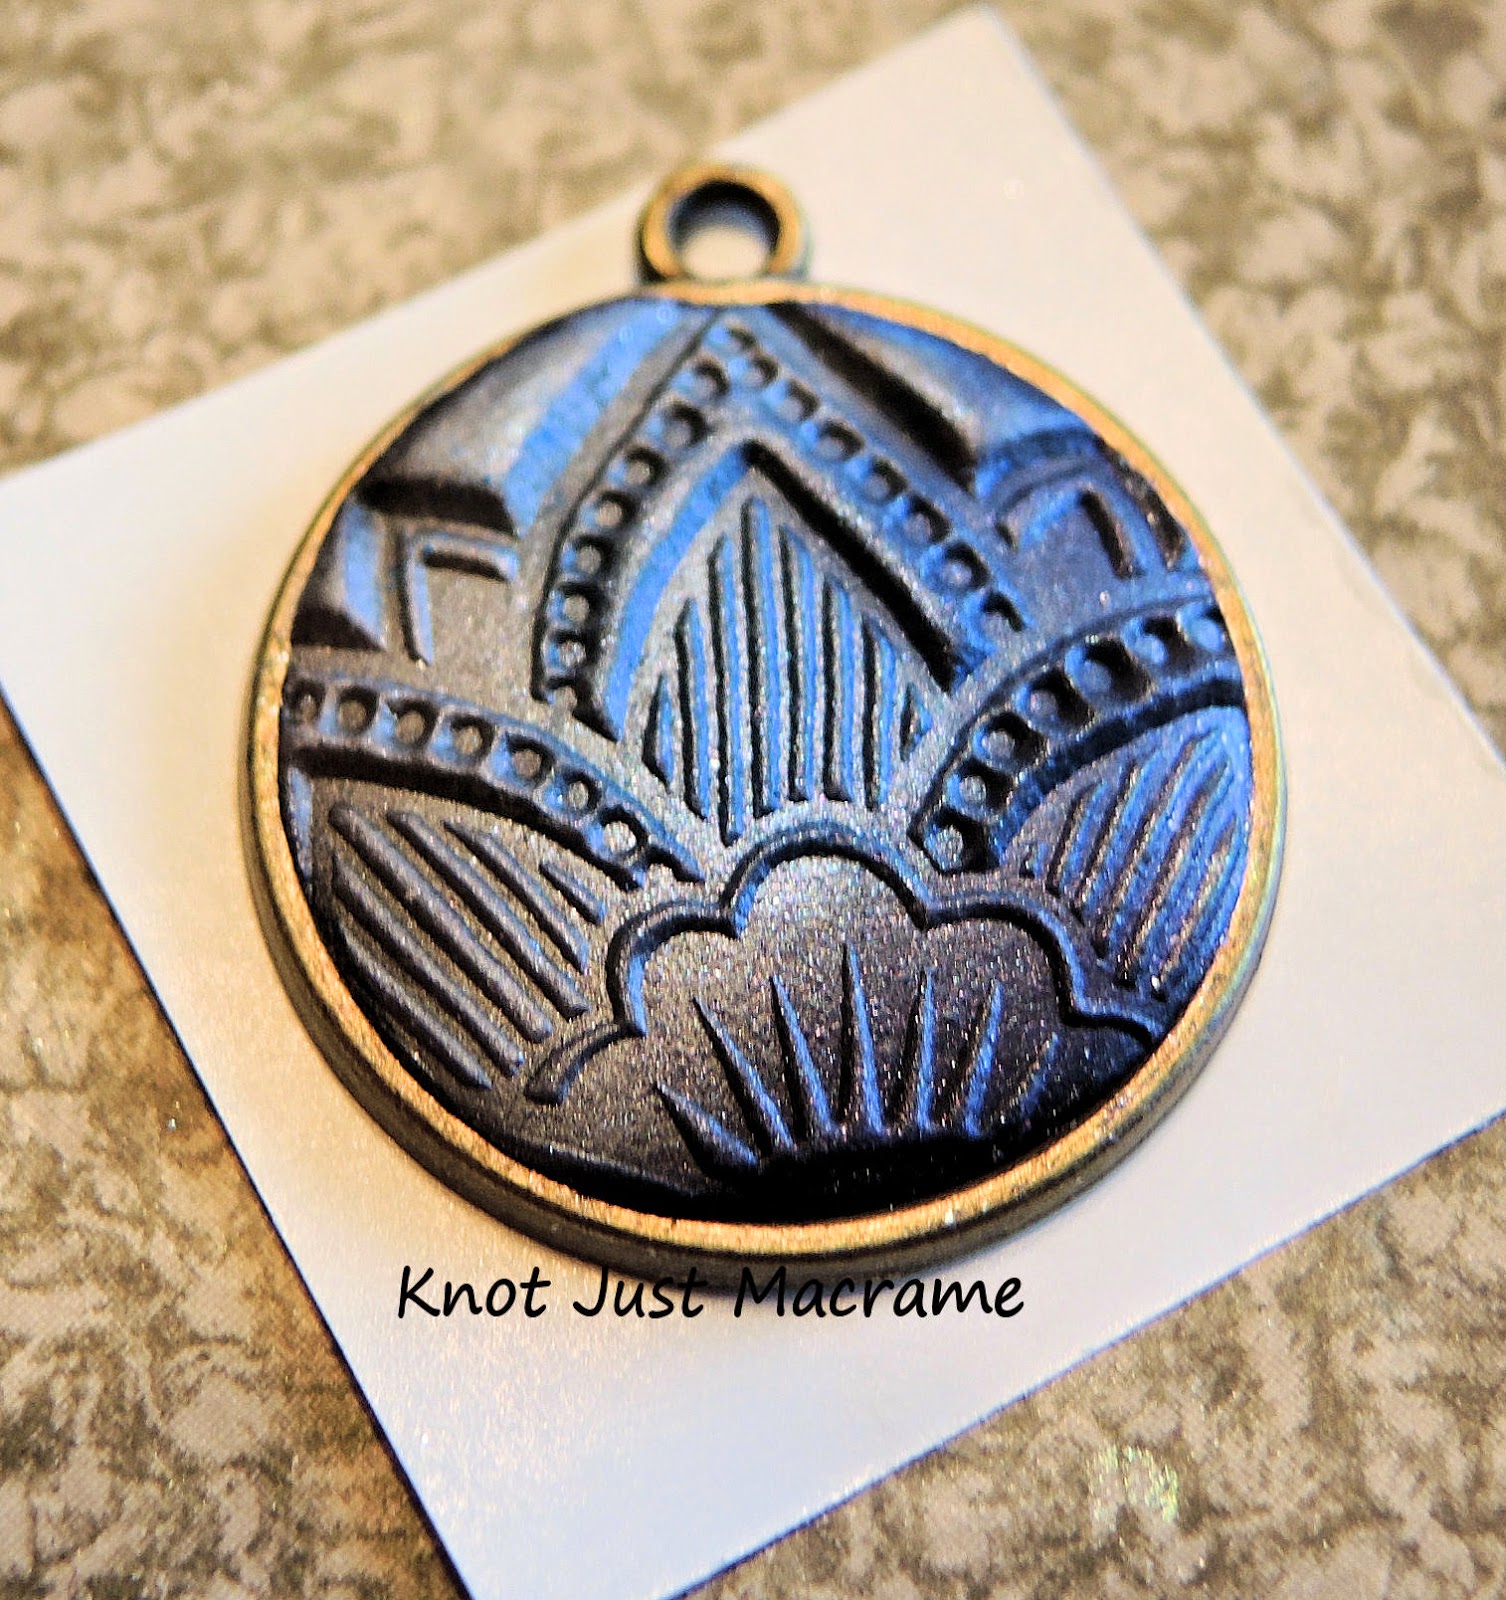
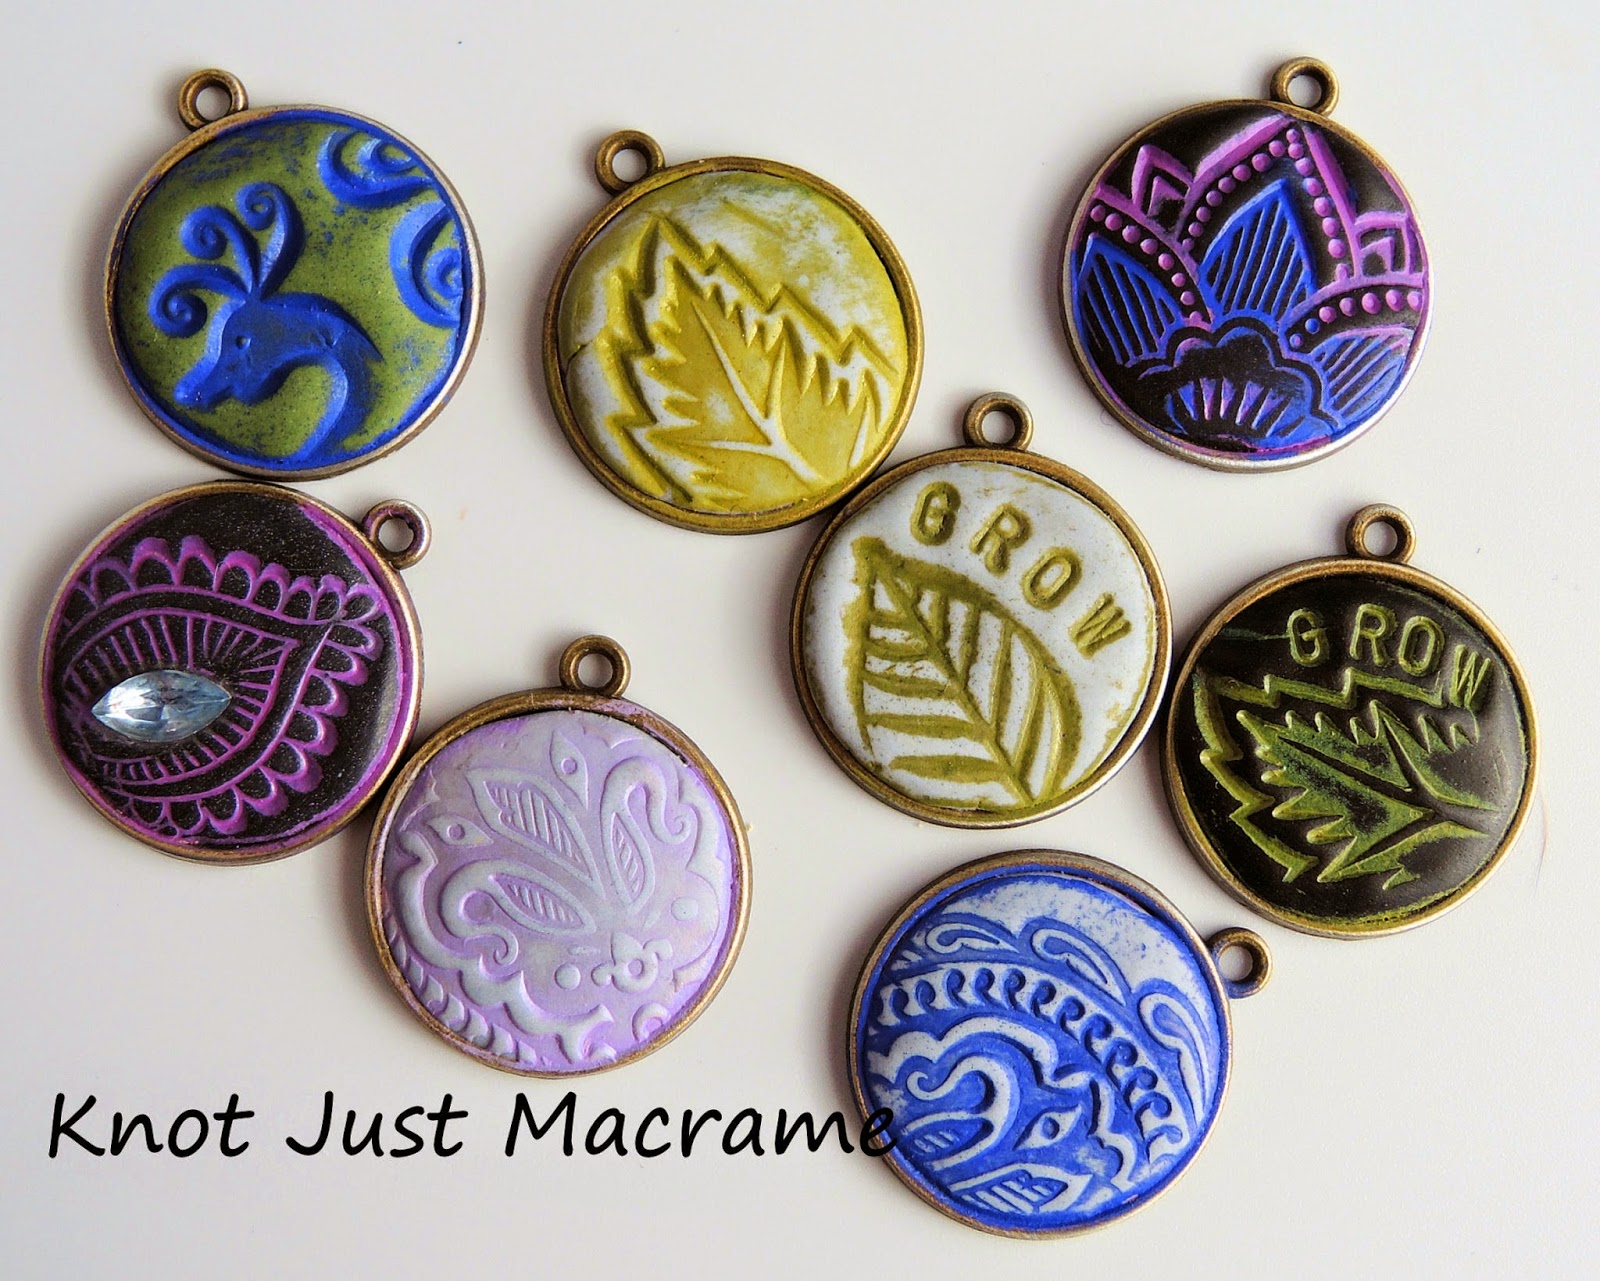
These I have used before.  I even used them to paint lucite flowers and wrote a little step by step you can find here.  I don't profess to be any kind of artist when it comes to painting, so I didn't attempt anything too complicated.  Mostly I just covered the charms in patina then wiped it off.  After that I hit the high points with a little sanding to reveal some of the clay color underneath.  I did get some nice results with that.

Epoxy clay charms stamped and antiqued with Vintaj patinas

All in all, I think the experimentation was pretty successful.  I probably should have taken pictures of some of the not-so-successful pieces, but hey, it's my blog.

December 3, 2012

Jade Dog Designs Fall Challenge


Darcy from The Jade Dog had a Fall Challenge and of course I'm always up for a challenge!  I purchased the kit shown above, with one of Darcy's handmade polymer clay cabochons and an assortment of beads.  The rules were simple - make something beaded using at least one of each of the bead types and the focal.  My first thought was to do a bead embroidery piece; if you aren't familiar with Darcy's work, she does some amazing bead embroidery.  Now I may always be up for a challenge, but I'm not silly enough to put myself up for that sort of comparison, so my mission was to find another way to set the cab.   Uh huh.


The first thing I attempted was a brass prong setting.  I cut the brass shape, textured it, drilled the holes for the prongs, attached them by soldering and then added a patina to the piece using liver of sulfur.  That's when I remembered to snap a photo.  And this step is as smelly as it is nasty looking.


All that and I didn't like it. I tried cutting it down so that it wasn't so large in comparison to the cab, but I still wasn't thrilled with it.  So I put it aside and tried a macrame bezel instead.  I spent nearly two hours knotting this:


Only to discover that I hated it even worse than the brass one.  So I spent another 30 minutes looking for inspiration and over an hour trying to make a wire bezel that I hated even worse than the macrame bezel that I hate worse than the brass one. 


At this point I figured I'd go with the one I hated the least and try to make it work.  It was either that or still be working on this project into next year.  So I took the first brass piece that I'd cut down and I beat on it some more and added some gilder's paste and then drilled some holes and attached a couple of the Czech flowers and a leaf with some wire.  Hmm...  either that was a big improvement, or I'd lowered my standards.  Either way, that's what I went with.  


I hung my pendant on a chain dotted with random beads and added a couple more dangles for movement. 


I even added a pretty floral clasp.


Darcy is going to put photos of all the entries on The Jade Dog facebook page, if you'd like to take a peek at what other folks did. 

October 19, 2012

Tutorial for Painting Lucite Flowers

Wanna know how to make some pretty painted Lucite flowers for yourself?  Do ya?  Huh?  Well, listen up, because I'm about to tell you.  You're going to need some kind of paint.  I used Vintaj patinas.  I know they adhere well to the Lucite and I haven't tried anything else, so what kind of paint you use is up to you.  I used:


You will also need some glaze.  I had this on hand, so that's what I used.


You will need something on which to mix those two things, as well as a mixing utensil.  I went low brow and used a paper plate and some toothpicks.  You'll also need some sponges.  I'm known for being a bit messy, so I opted for some disposable gloves and I covered my work area in newspaper.


You will also need some Lucite flowers.  I used some frosty white ones and some in colors. 


Pour a little puddle of glaze on your plate and add a few drops of patina.


Looks pretty cool when you drop it in there, huh?  Stir it around a bit and then dip your sponge in it and start sponging paint on the flowers.  I did several in one sitting (maybe a couple dozen?) so by the time I'd finished sponging one color and started with another, the first ones were dry enough to hit with that second color.  Just keep dabbing on paint until you get something you like.  I used blue, olive green and teal with a touch of bronze on the ones in the first photo.  Here's one during the process:


And here they are after I've done all the sponging I'm going to do:


Now comes the scary part:  antiquing.  Mix some glaze with a dark brown or black (or I guess you could use whatever you want - I used brown with a drop of black).  Use quite a bit of glaze in your glaze-to-patina ratio here.  Then go over the whole flower with it:


Told you it was scary.  Now wipe off the excess, leaving the color mostly in the cracks and crevices.  You should end up with something like this:


Let them dry well and then hit them with a coat of clear glaze to shine them up.  Sit back for a minute and admire your handiwork:


Here are some others I did in different colors earlier in the week, layered up with some brass filigree:


Now for the disclaimers:  I don't profess to be an expert at painting Lucite flowers with Vintaj patinas.  I don't know if it's against any rules and I don't know if the resulting floral artworks will last into the next millennium.  Nobody told me I couldn't do it, so I did.  It worked for me.  If you try it, I'd love some feedback.  Have fun!!

August 13, 2012

A Little Rusty

So, if you've been following me for any time at all, you know I have the attention span of a gnat and I want to try EVERYTHING.  I can't help it - I'm an Aries.  My latest adventure involved Modern Masters Iron Paint and Rust Activator:
It says to use primer if you're using it on wood or metals and I'm always a "read and follow instructions" type of gal... OK, maybe not so much, but I did at least read this far in the directions, so I bought the primer, the iron paint and the rust activator.  And a few disposable foam brushes.  They also have other paints (copper and brass maybe?) and patina activators, but I went for rust.  It says you can use it on anything, so I chose some victims:
I found a seashell and some wooden beads, a couple of cameos, a pair of old earrings, some odd tin star brooch, a metal clay (maybe?) heart, and some random plastic/resin pieces.  I gave everybody a coating of primer, just to be on the safe side.
The directions said to let the primer dry for 12 hours.  Huh.  There is no project in my world where I wait for 12 hours.  I did wait an hour or so - it was really hot and sunny outside, so I figured that was good enough.  Besides, I was dying to get to the good part, so I brushed on the iron paint.  Here's how Mr. Monkey looked at that point:
This part didn't take long to dry.  They suggested an hour, but mine was dry after only about half an hour.  You can put the activator on with a brush or a sponge, or you can spray it on.  I settled for a sponge brush, because that's what I had handy.  After a short wait:
 Way cool!  So I brushed a good coat of the activator on everything before I went to bed.  I let it pool in places and didn't even try to be neat about it.  The next morning was like Christmas - the anticipation as I went out to see what I'd ended up with - I felt like a kid again!  And this is what I found:
Some pieces seemed to rust more than others and I'm not sure why.  I did also lose some of the rusty color when I sprayed it with sealer, but I really thought that was necessary - can't have folks getting rust stains on their clothing from my jewelry, now can we?  But those pieces just needed something, so I got out my Gilders' Paste and rubbed a bit here and a bit there:
Most of the colors of paste I had on hand didn't show up much.  The only one I was happy with was the teal blue, but it sure is pretty on the flower, isn't it!

I think this was a very successful experiment and I've got lots of fun pieces.  Now I just have to figure out what to make with them!
Cameo before & after rust technique


June 29, 2012

Flower Bangle Challenge Reveal

 I'm so excited to finally be able to share this with you!!!  I've had it finished for a few days and it's been killing me to keep it a secret.  Here's the scoop:  Jo at Daisychain Designs sent out five of her pretty flower bangles with a challenge to see what we would do to decorate them.  This is what the bangle looked like before I started:
When it showed up in my mailbox, I almost panicked!  It was so dainty and pretty just as it was, I couldn't figure out what I could do to it without detracting.  So, I sat it on the table next to me and stared at it for several days and ran different ideas through my head.  I thought about doing some macrame around the bangle - a half knot sinnet twisting around the bangle with some tiny seed beads entwined in the cord, but that just didn't seem special enough.  Then I considered making it part of a stack of bracelets - I'm big into the layered stacks right now.  But again, it seemed like making this bangle just one of many just wouldn't be doing it justice.  And then...
My Vintaj Patinas arrived in the mail and added another dimension to the possibilities.  I was very nervous about painting the bangle, so I painted some little copper beads instead and auditioned them on my facebook page to decide which color to use.  
The teal color won - and no, I didn't tamper with the voting (even though it's the color I wanted!).  I finally got up the nerve to paint the flower part of the bangle, and since the orange color came in second in the voting, I added a pop of that to the center of the flower.  After that dried, I mixed some colors together and added some glaze to get a thinner consistency to "antique" my flower and highlight the texture a bit.  The rest was easy - I wrapped the bangle in a length of chartreuse sari silk and then wrapped some copper wire around that, adding in just a sprinkling of beads for interest.  I made a companion bracelet in macrame with matching cord and mottled glass beads. 
I'm really happy with the finished piece - of course, it helps when you start out with something so beautiful.  Many thanks to Jo for making such a lovely bangle and for hosting this challenge.  Hop on over and see what Jo and the other participants did with their bangles:
Jo Tinley - Daisychain Designs
Shannon Chomanczuk - For My Sweet Daughter
Jenny - Shyme Design
Keri Lee Sereika - Pink Lemonade
Heidi Post - Ex Post Facto Jewelry

June 22, 2012

Experimenting with Vintaj Patinas


OK, tell the truth - these are fabulous, aren't they!?!  I've been waiting on pins and needles for my Vintaj patinas to get here and they finally came in the mail yesterday.  In typical "me" fashion, I had to order all of the colors, so I had a veritable rainbow to play with (although there doesn't seem to be a nice dark brown for "antiquing" - I'll have to do some checking on that).  The patinas are advertised as "specially formulated to adhere to metal" so I figured I'd have good luck with metal pieces, and I did.  I messed with a few, but my favorite was the art metal compass piece.  The color of the patinas really pops against the dark metal.  I also hit the high spots with a sanding block and got a bit of light metal as a highlight.  Very cool, if I do say so myself.
Then I got brave and decided to see what happens if you use them on lucite.  The top leaf in the photo above is how the rest looked before I hit them with the patinas.  I used a single color (green on one and a rusty color on the other) on the next two down and I like the look.  Then I used both colors on the bottom one (look at me, getting all artsy).  And I figured I hadn't done any great damage yet, so I pulled out some lucite flowers.
The flowers all started out the same as the top one - sort of an orchid color.  I used a couple colors each on the others and am totally amazed at how different they all turned out.  The patinas cover very well (almost too well in some cases) so not a lot of the original lucite color shows through.

All in all, I am very impressed with these patinas.  They cover really well and they dry really quickly and I now have limitless possibilities for colors on metal and lucite.  And who knows what else:)


Related Posts Plugin for WordPress, Blogger...