Showing posts with label beading tutorial. Show all posts

May 25, 2015

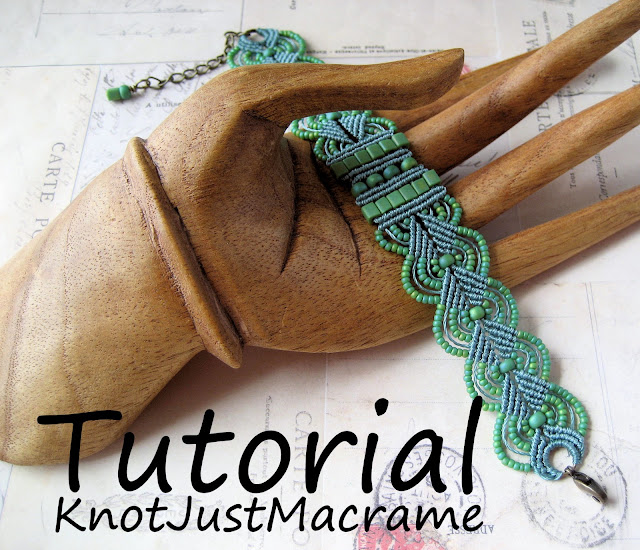
Peacock Bracelet - A New Micro Macrame Tutorial


Micro Macrame Tutorial for Peacock Bracelet by Knot Just Macrame

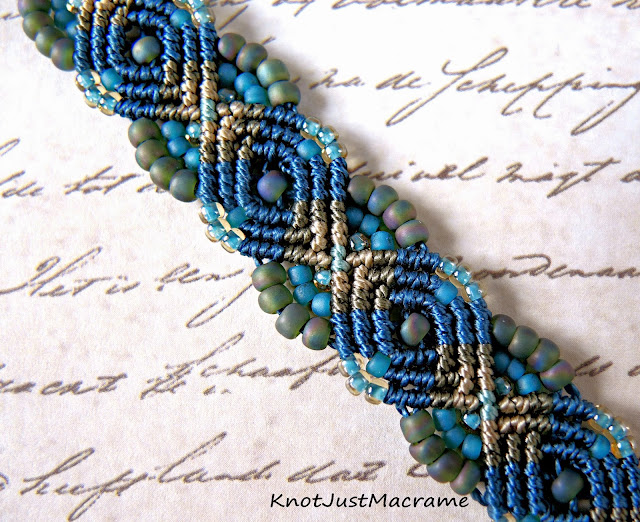
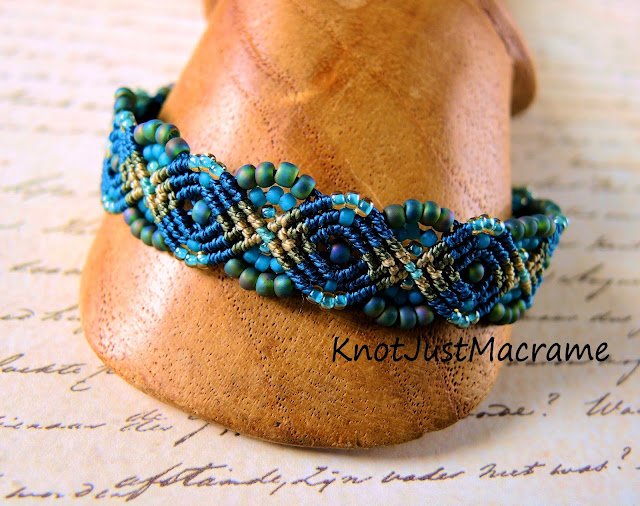
A brand new micro macrame tutorial hit my Etsy shop today - a bracelet I'm calling Peacock.  I don't know if I'm always making "eye" motifs or if I just see eyes everywhere, but that's what I see in this bracelet.  Between that and the colors, Peacock seemed a good fit.  Skipping Stones was also in the running.  Doesn't it sort of look like this?

skipping stones

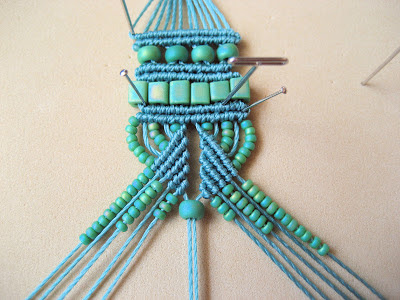
No matter what you want to call it, I'm calling it "finished"!  I always want to put out the best tutorial I can.  I want a person who isn't familiar with micro macrame to be able to be successful following on of my tuts, so I include lots of detail.  This one is 23 pages and includes over 60 photos.  I set the bar pretty high for myself, so when I get one to the point where I feel like it's ready for you guys to see, it's a big deal!  

Peacock micro macrame bracelet by Sherri Stokey of Knot Just Macrame.

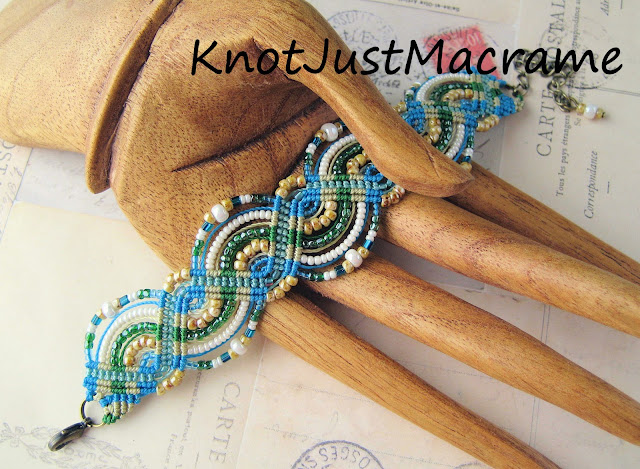
This pattern is fun and has loads of potential for color manipulation.  I used four different colors of cord and three colors of seed beads (and all the details are included in the tutorial - even the bead color numbers for this version).  I'm too lazy to do the math, but I do know that leaves you LOTS of color combinations to explore.

Peacock micro macrame bracelet in teal, olive and turquoise by Sherri Stokey.

I've got a couple of color ideas in mind, so I'm off to experiment.  If you decide to do the same, this link will take you to my Peacock Bracelet tutorial.  And be sure to stop by my Facebook page and show me what you made!


January 15, 2015

The New Leafy Cuff in Micro Macrame Class in Online Now!


Leafy Cuff in Micro Macrame online class by Sherri Stokey screenshot

I am thrilled to announce (despite my many trials and tribulations detailed here) the release of my new Leafy Cuff in Micro Macrame class!!! That's right - it's LIVE!  The lovely folks at CraftArtEdu have the class up and running and what's more, it's on sale!  As a matter of face, all of my micro macrame classes there are on sale! 

Leafy cuff knotted in micro macrame original design by Sherri Stokey of Knot Just Macrame.

Go!  Find a class & learn something (that old dog/new trick thing is just a vicious rumor).  It will be fun!

 
PS.  Psst, hey Buddy... over here.  Yeah, you.  Over here.   You don't think you got what it takes to make one of these?  Nobody ever. has. to. know.  Get a ready-made one right here and I promise I'll keep it our little secret.


October 12, 2014

The New Artisan Component Marketplace

Macrame necklace by Sherri Stokey with ceramic leaf pendant by Marla James.

I'm going to let you in on a little secret.  You know all those wonderful heads and pendants (like this oak leaf from Marla's Mud) I'm always showing you?  (Yes, I may have a slight bead buying problem, but that's a discussion for another time.)  There's a new online marketplace just for artisan made pieces - Artisan Component Marketplace.  You won't find any factory produced knock offs there because each shop is juried before being allowed to sell on the site.  That means each and every one of the pieces you find listed there will be hand made by the artist.  

Artisan Component Marketplace screenshot

You will find ceramic and porcelain, handpainted wood and lampwork as well as mixed media and metal.  There are seed bead components made of tiny glass beads woven together in intricate patterns, pendants made from polymer clay and clasps made from wood.  There are all sorts of little treasures from some of my favorite artists, so when I had an offer to do a guest blog post for them, I jumped at the chance.  

You're going to have to go there to see what I wrote, but I will give you a hint:  it involves Marla's ceramic leaf pendant and a little free macrame tutorial.  Have fun!  Oh, and I made up a fancy new, handy-dandy bar for the bottom of my guest post - what do you think?

Sherri Stokey


February 17, 2014

A New Micro Macrame Tutorial

Curves Micro macrame bracelet pattern by Sherri Stokey of Knot Just Macrame

It's been a long time coming, folks, but I finally finished a tutorial for a version of the Curves micro macrame bracelet!  This one is knotted in Tex 400 cord for a nice beefy bracelet.  

Curves Micro macrame bracelet pattern by Sherri Stokey

The whole bracelet uses only ONE macrame knot.  Yes, really - only double half hitch knots (which you can learn how to make here).  You make them backwards and forwards and every-other-wards, but it's still only ONE knot.  

Curves Micro macrame bracelet pattern by Knot Just Macrame

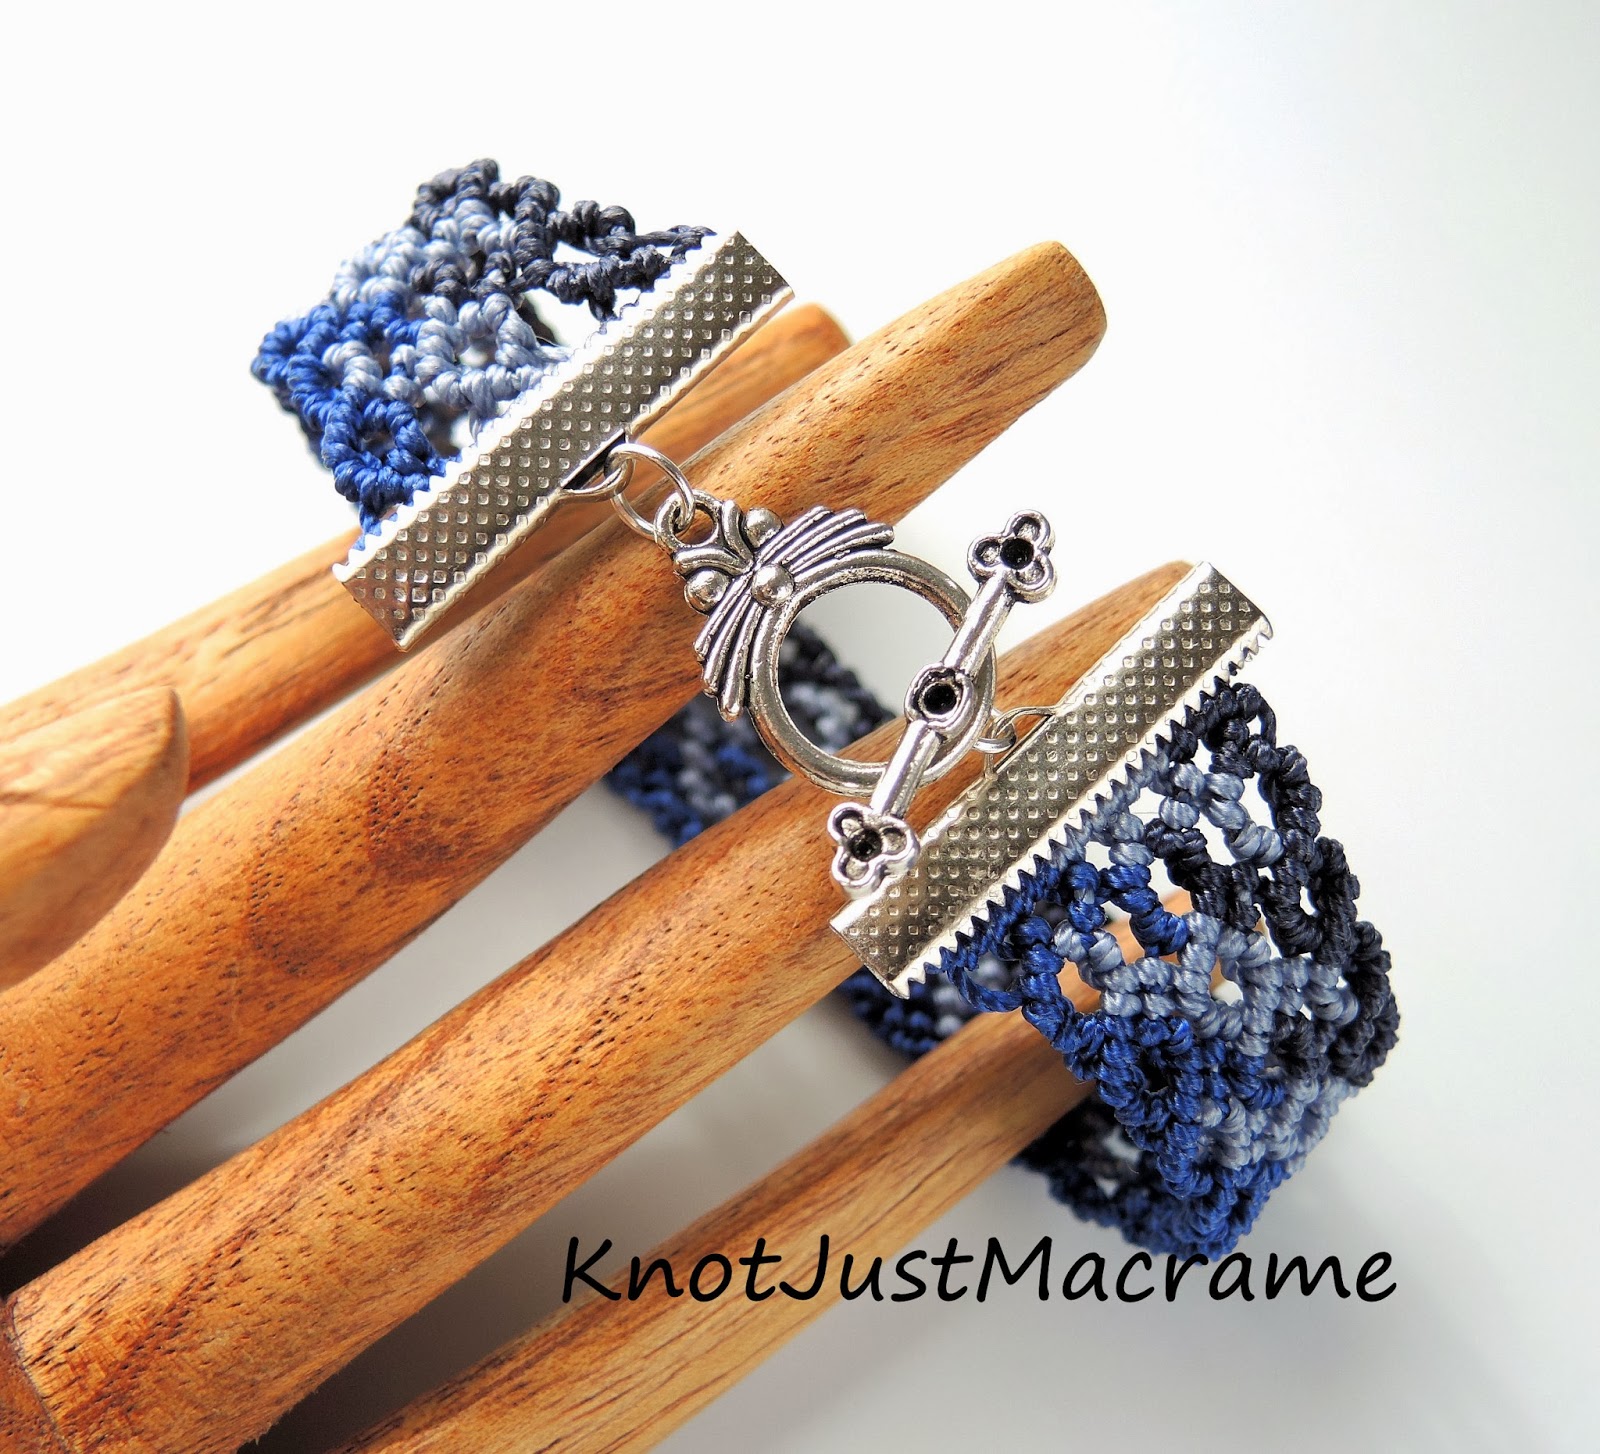
I finished off this design with some clamp ribbon ends for a nice, neat look and added a simple toggle clasp.  A lobster clasp also works nicely.  

Example of photo from tutorial

This is an example of one of the photographs from the tutorial.  I took a million photos... okay, that might be a bit of an exaggeration, but I did include about 70 photographs in 24 pages of step by step instructions.  I'd probably rate this pattern as sort of middle-of-the-road as far as difficulty.  It's not hard (only ONE knot, remember?) but you do have to keep track of the cords that are trying to go off in one direction or another.  If you are comfortable with the double half hitch knot, you're probably ready for this one.

Tutorial available at www.knotjustmacrame.etsy.com

You'll find this new micro macrame bracelet tutorial in my Etsy shop here.  Happy knotting!!

November 3, 2013

More Micro Macrame in Raku Colors

Raku color palette comprised of cord and seed beads.

Remember this big ol' pile of gorgeous inspired by Star Spirit Studio's Raku pieces?  If you missed the piece I made from the skull pendant in this photo, be sure to check out this post.  There are just so many great pieces and great colors here, I can't put them away.  This week made a set with no actual raku pieces, but in the same color palette:

Micro macrame bracelet and earrings in raku colors by Sherri Stokey of Knot Just Macrame

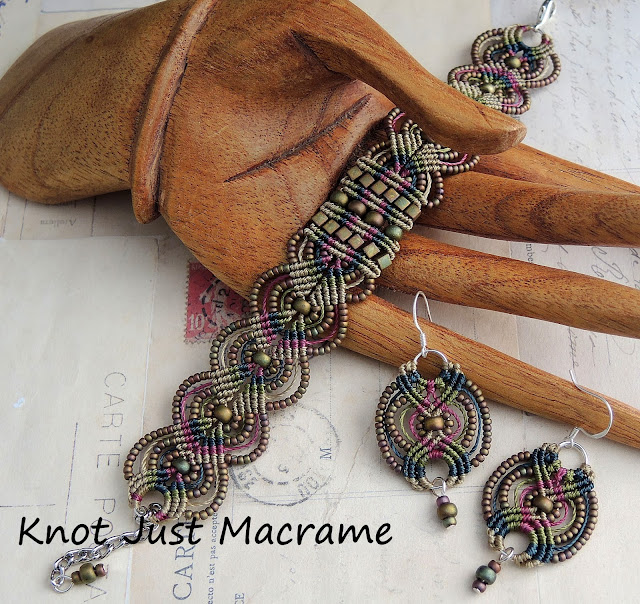
The way the colors undulate through the bracelet fascinates me. This bracelet is done from the Leaves Bracelet micro macrame tutorial available in my Etsy shop.  I've just added the extra element of different colored cords.

Micro macrame bracelet  in raku colors work in progress

Micro macrame bracelet  in raku colors by Sherri Stokey

I had a couple other projects in mind and a custom order I need to do, but I don't think I can't put these away just yet.  Stay tuned!

October 17, 2013

Micro Macrame Bracelet Watch eClass

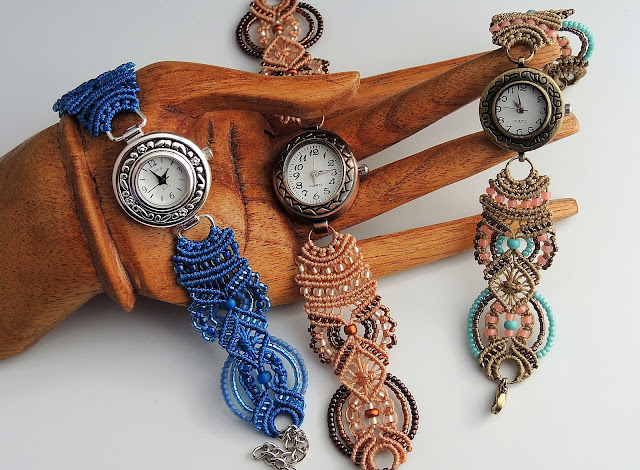
Micro Macrame bracelet watches by Sherri Stokey of Knot Just Macrame

It's done!  It's done!!  The class for this knotted watch band is finally DONE!  Put a done stamp on this one, it's done!  (Can you tell I'm happy to have it finished?)

The brand new eClass is available here at CraftArtEdu and they're offering it at a special introductory price for a short time.  And (insert drum roll here)... I even got busy and put together some kits to go along with the class.  They're available in my Etsy shop.

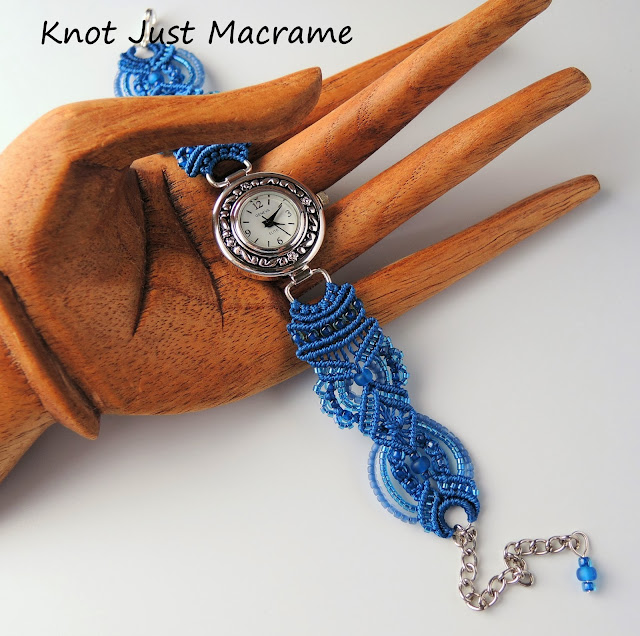
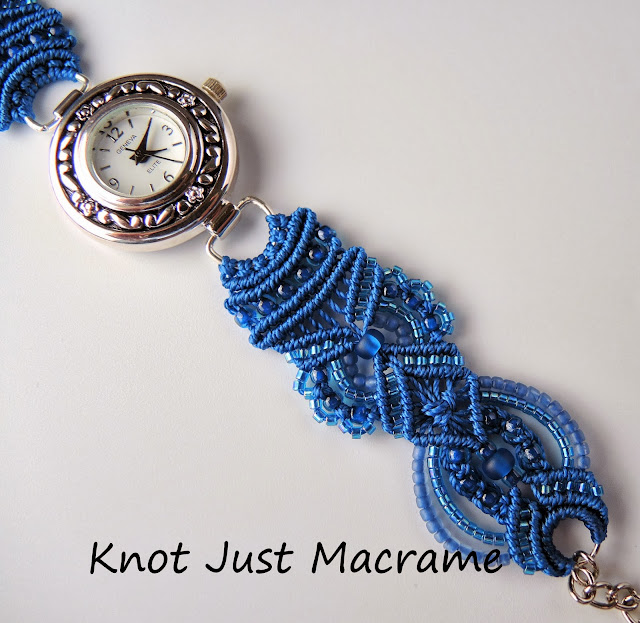
Capri blue Micro Macrame bracelet watch by Sherri Stokey

I made this bright capri blue version when I was photographing the steps for the class and  I have a kit so you can make the exact same watch if you like.  You can find it here.

Hand knotted lace bracelet watch in oyster

If you've visited my shop before, you might have noticed the watch in my banner.  It's this same pattern knotted in oyster cord with the softest gray beads with rainbow finishes - both matte and shiny finishes.  I made a couple of kits in these colors here.

I also made up some kits in cobalt and in black.  I was on a roll.  Then I decided I might as well make up some kits for some of my other tuts since the shop was getting pretty picked over.  If you're looking to make Christmas gifts, the selection is pretty good right now.  

I even put together a new combo for the Hydrangeas set using the colors I love.  I still have to make up a sample, but here's the palette:

Khaki, white and turquoise color palette for micro macrame kit

I'm off to work up some earrings to show off these colors.  Oh, and did I mention the class is done?  

October 8, 2013

More Micro Macrame Classes

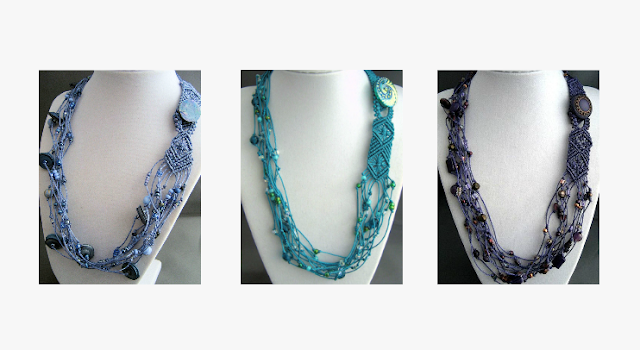
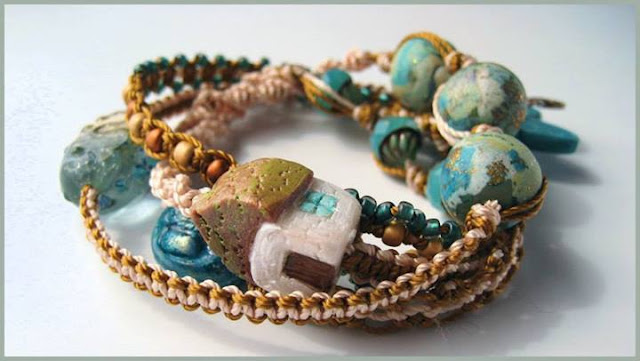
Multi-strand micro macrame necklaces by Sherri Stokey of Knot Just Macrame
I've been so busy working on new classes, I think I forgot to tell you I added one!  The new necklace class is available at CraftArtEdu.  In this class, I've combined videos and still photos to help you through learning how to knot a multi-strand micro macrame necklace using nylon cord, beads and a button clasp meant to be worn in the front.  It has loads of possibility for customization.  You cold make it with a great Czech glass button and fun Czech beads.  Or how about a mother-of-pearl button with handmade polymer clay beads?  Or a Southwest theme with a thunderbird button and beads in turquoise and coral colors tied up with a sandy brown cord?

If a necklace doesn't appeal to you, I also have a micro macrame wrap bracelet class and a lacy and intricate bracelet and earrings class there.  And don't forget the free Micro Macrame 101 class with good, basic information on knotting surface, tools and equipment and cord.

This week CraftArtEdu is offering 20% off all of my classes.  You don't need a coupon code and the sale is good through Friday, October 11, 2013.  When you buy one of their classes, it's yours forever and you can watch it as many times as you like.  There is a handout with each class that you can print out if you like to follow along that way.  AND they guarantee you will like your classes or they will give you your money back.  What's not to love?  

I'm working on a class for a bracelet watch next.  I'll leave you with a sneak peek:  

Micro Macrame bracelet watch by Sherri Stokey


August 9, 2013

Micro Macrame Tutorials and Classes - Where the Heck Do I Start?!


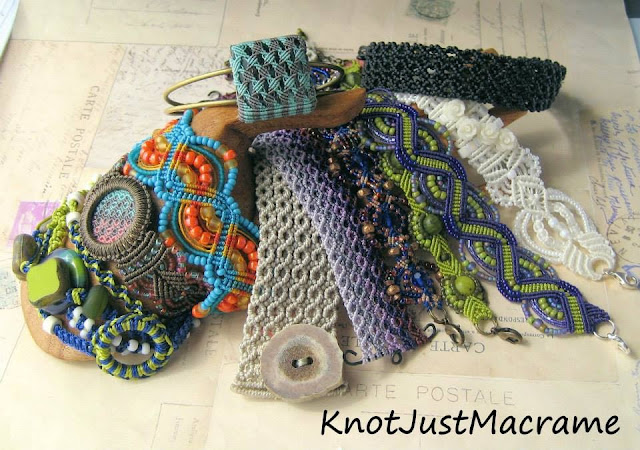
Micro macrame bracelets by Sherri Stokey of Knot Just Macrame

Every one of these bracelets is made using the knotting technique referred to as micro macrame (or sometimes beaded macrame).  Want to learn how to do this yourself?   You've might heard by now that I am offering tutorials and eClasses for micro macrame (yes, okay, finally!).  But now you're probably wondering which class is the best fit for you?  Let's see if I can shed a little light on the matter.

If you're new to micro macrame, the first thing you might want to do is check out this free eClass at CraftArtEdu.com - Micro Macrame 101.  It covers a few of the basics like what tools and materials you will need, some alternatives for pinning surfaces and an overview on cords.  Handy, basic information.

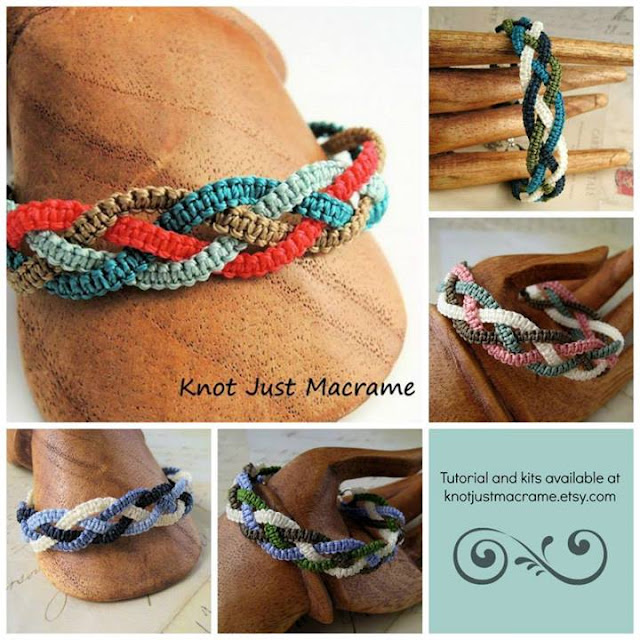
Braids micro macrame bracelet tutorial and colorways

If you're ready to start knotting, I'd suggest either the Braids tutorial on Etsy or the Micro Macrame Wrap Bracelet eClass on CraftArtEdu.com.  Both are geared toward beginners.  The Braids bracelet uses just a couple of knots, while the Wrap walks you through learning five different knots.  I've included loads of photos in each of them.  I'm really proud of the Wrap pattern because I feel like it's a really fun way to learn your knots and it has loads of potential for personalization.

Micro macrame knotted wrap bracelet by Sherri Stokey eClass available

The Hydreangeas Bracelet and Earrings eClass is just one step up in difficulty.  It uses more cords and more beads, but I've included some video clips as well as all of the photographs to help you.  If you don't need quite as much instruction as that, the Hydrangeas .pdf might be perfect for you.  The Leaves .pdf falls somewhere in this same area.  It only uses a couple of knots, but you'll need to know how to do them in order to follow the tutorial.

Hydranges micro macrame bracelet tutorial
Leaves micro macrame bracelet tutorial

The last pattern I have right now is the ZigZag bracelet.  It was the first tutorial I made, but you'll notice I've put it last in my list.  The instructions on this one are not quite as clear as I'd like for beginners .  I've definitely improved with successive tutorials.  I haven't removed it from sale, though, because it is a great design and if you are familiar with micro macrame, you should be able to follow it without much problem.  One of these days I'll get around to rewriting it and expanding on it because it is fun and I've done quite a few variations on it like this;

Zig Zag micro macrame bracelet variation

Hopefully that will clear up any confusion on where you should start.  Give it a try!  I think you'll be surprised at what you can do.  Oh, and just to make it a little bit easier for you, I've got kits for most of the tutorials available in my Etsy shop with the cord, beads and findings all together for you.  Just call me The Enabler.

July 11, 2013

Micro Macrame eClasses Are Available!

Micro Macrame Wrap Bracelet by Sherri Stokey of Knot Just Macrame

I can finally make my BIG announcement!  I'm the newest instructor at CraftArtEdu.com and I have classes available in micro macrame!!!  YAY!  You might have noticed that I'm crazy about micro macrame and I am thrilled to get this chance to share it with you.  

I have two classes available right now (and another ready for my editor).  The first is Micro Macrame 101 and it is free (yep, free!).  It's an overview of the tools and materials you'll need to try micro macrame for yourself.  I included information from cord choices to knotting surfaces.  One of the nicest things about micro macrame is that you don't have to invest a lot of money in tools and equipment to give it a try.

Materials and finished micro macrame wrap bracelet in nylon and hemp cord

Micro Macrame Wrap Bracelet is the other class available and covers the five of the most common macrame knots.  But just learning knots would be boring and I try never to be boring, so while you're learning to tie the knots, you'll be making a fun wrap bracelet like the ones shown in this post.  I'll show you step-by-step how to take a a couple lengths of cord and a small pile of beads and turn them into your own fun, wearable bracelet.

Micro Macrame Wrap Bracelet Class project with polymer penguin bead by Windbent

This project is doable, even for people with no knotting experience at all.  AND it's a great way to show off some of the beads you've been hoarding!  The one above features a polymer clay penguin by Lennis Carrier of Windbent.  The one below has a beachy theme and has polymer pieces by Lennis Carrier, Marlene Cupo and Ke Robinson, as well as a ceramic toggle by Shelley Graham and lampwork by Mitosis Glass.

Macrame wrap bracelet featuring various artists beads.

Macrame wrap bracelet featuring handpainted lucite flowers.

I was playing around with different variations when testing my tutorial.  I used hemp cord instead of nylon in the penguin piece and did a mixture of both cords in the brown and black rose piece.  In this last one, I experimented with tying a couple rings into the knots of the bracelet (you can just add them in with an overhand knot).  Then I went back and attached some hand-painted lucite flowers and leaves to the rings as well as a little Vintaj bumblebee.  I think this would be a really fun way to show off some charms - an updated take on a charm bracelet!  Oh, and if you want to learn to do the flowers, the tutorial is here.

I hope you'll take a minute to check out CraftArtEdu.com.  I have been really impressed with the site.  They have loads of great classes available and some really, really talented instructors.  And the nice part (well, besides being able to get instruction at any hour of the day or night even if you're in your jammies...) is that once you purchase a class, it never expires.  It's always available for you to reference.  Nice, huh?  The next best thing to having me come to your house and teach you micro macrame.  Better really - you don't have to feed me!

June 27, 2013

New in My Shop - Kits for Micro Macrame Bracelets

Bead and cord kits for micro macrame bracelet patterns from Knot Just Macrame on Etsy

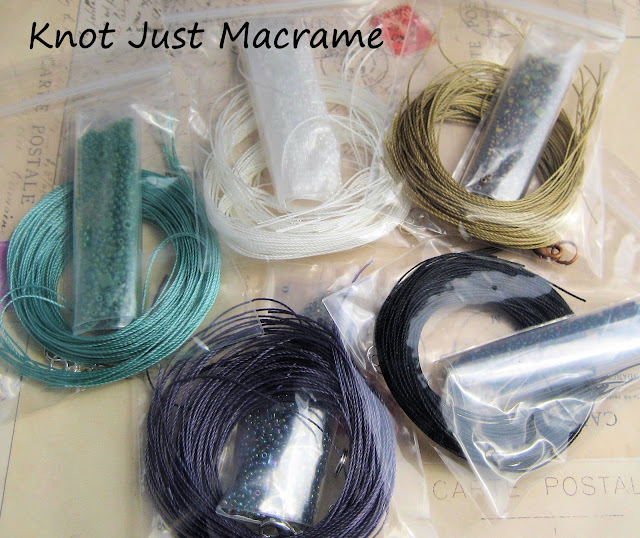
I love playing with beads and cord and putting together color combinations, so what better outlet than to put together kits to go along with my micro macrame patterns?  I finally got busy and assembled some - these go with my Leaves bracelet.  I have measured and cut the cord for you and put in the beads you will need, as well as split rings, a clasp and extender chain.  All in one tidy little package.  I had to do one in Matte Metallic Khaki Iris, of course:  

Matte Metallic Khaki Iris Leaves Micro Macrame Bracelet Kit

I also love this combination.  It's all white, but it's not all white - tricky, huh?  I love the rainbow coating on the beads that keeps the white from being boring.  There are little flashes of color.  So pretty...

White rainbow beads and cord kit for micro macrame

I haven't included the tutorial with any of the kits since some folks like to buy more than one color kit to go with a pattern and others have already purchased the pattern.  I did straighten the cord for you, since this is what it looked like before I did:

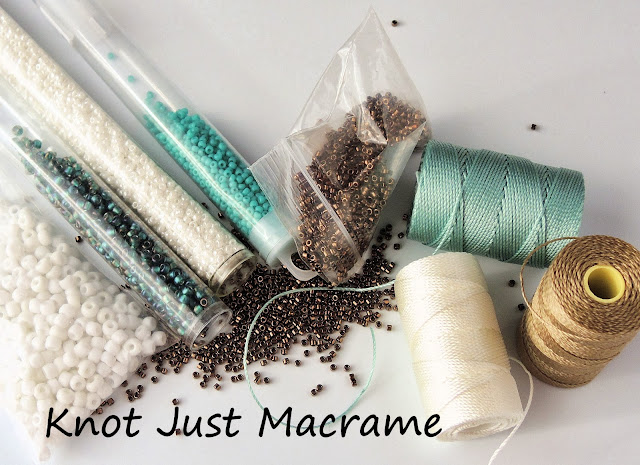
Seed beads and bead cord

You're welcome.  A couple of hints for you if you do purchase a kit:  Although I straightened the cord once, I did have to spool it to get it to you since the cost was prohibitive for mailing a 36" long box.  You might have to run it through your straight iron to get it straight again (details here).  If the ends get a bit flattened from the straightening process, just clip a tiny bit off the end of the cord. If you cut at a little angle, it will make threading the beads onto the cord much easier.  If you are still having trouble getting the beads on the cord, dip the cord ends in some Fray Check and let them dry, then cut a little angle.  It works like a charm and keeps the ends of your cord from unraveling.  Clear nail polish works, too, but I use the Fray check when finishing off my pieces, so it's handy to have.

I even did a kit in the Hydrangea colors.   I'm just loving this shade of purple called French Lilac.  It's sort of muted - not a bright, vibrant purple.  And the beads I've paired with it aren't actually purple at all.  They're shades of gray, but the rainbow coating on the beads gives them the appearance of purple.  And I love combining beads in matte and shiny finishes for a little contrast, even when the colors all match.  My next project is to make some kits for the Hydrangea Bracelet.  Patience, Grasshopper...

French Lilac or Hydrangea colors bead and cord kit for micro macrame bracelet pattern

You can find the kits in the Kits Section of my Etsy Shop.

May 31, 2013

Micro Macrame Bracelet Tutorials Available

Micro macrame bracelet tutorial by Sherri Stokey of Knot Just Macrame

I did it!  I finally sat down and wrote a tutorial for micro macrame!  I knotted this bracelet and took photos every step of the way and then sat down and wrote instructions for the photos.  This tut has 14 pages and includes a whopping 39 photographs.  I get lots of questions on how I finish micro macrame, so I spent four pages covering that in detail.  This is an example of the photos you'll find included:

Example of photo in tutorial with instructions and pattern for micro macrame jewelry bracelet

This bracelet uses only the double half hitch knot, except for the few knots to attach the split rings at the end.  That's it - you just have to learn ONE knot.  You can do that, can't you?  I didn't include instructions for that in the tut (it was already 14 pages!), but I did find loads of places online where it's covered, including a You Tube video by Ms. Joan Babcock (the macrame master!).

So go practice your knots and when you decide you're ready to try a bracelet, you can find the tutorial for sale here.  And that's not all!  There's a tutorial right next to this one... for this beaded macrame design:

Beaded macrame bracelet tutorial by Sherri Stokey of Knot Just Macrame

Yup.  It's been a busy week.  Oh, and for those of you who don't want to try knotting your own?  Both of these bracelets will be available in my shop soon.  I aim to please.

May 13, 2013

Multi Wrap Macrame Bracelet Tutorial

Macrame wrap bracelet tutorial by Sherri Stokey of Knot Just Macrame

I had some folks request a tutorial for a macrame wrap bracelet like the ones I showed in post here and it's so easy to do, I thought I'd take a stab at it.  You will need:
  • 2 pieces of Superlon Tex 400 cord or C-lon Heavyweight cord in whatever colors you like
  • An assortment of interesting beads with holes big enough to get one piece of cord through
  • Some 8/0 and/or 6/0 seed beads
  • A button or bead for the closure
You will also need a very basic knowledge of knots. I used a lark's head, half knot, square knot and overhand knots, in this piece.  If you aren't familiar with them, check out my friend Donna's page here.   Keep in mind that there is no "wrong" here, so if you're not comfortable with one of the knots, skip it or do something different.  If you're an advanced knotter and you want the short version of these instructions, you can skip clear down the page to the bold part.  Otherwise:

Start with two pieces of cord 150" long each and fold them in half - this is where the loop will be.  Still working there in the middle, use one cord to make a series of larks head knots around the other cord.  Check it periodically by holding the four cords together and attempting to slip your button or bead (whatever you are using for your closure) through the loop.  You don't want to get clear to the other end only to find your loop is too small, trust me.  When you get the right length, pull all four cord together.  Hopefully your knots stayed fairly well centered on your cords and the four lengths left hanging are somewhere near the same.  Use the same cord you did the larks head knots with to make a series of square knots around the other two cords.

Did I lose you?  It's not hard, really.  And if the larks head loop thing has you worried, just make a loop the right size and tie an overhand knot and move on.  Your closure won't be as fancy, but it will work just fine.  I had to be different, so I added beads to the knotting cord between each knot, but that's entirely up to you.  Now pat yourself on the back, because if you got this far, it's easy sailing from here on out.  If you're still worried about the knots, I did a little pictorial tutorial here - click on the photos to see the written instructions.  Channel your inner girl/boy scout.

Macrame wrap bracelet tutorial by Sherri Stokey of Knot Just Macrame

Now all you're going to do the rest of the way down is knot those four cords.  In the example above, when I knotted with the green cord, the navy was hidden inside.  Then I switched to knotting with the navy cords around the green ones, and an easy way to switch is to put all four cords through a bead.  Then you can start knotting with the other color without the transition showing.  You will want to switch your knotting cords from time to time or you will run out of one color and end up with a short bracelet!  Another way to transition is with an overhand knot, and I like that between beads.  In the example above, the green diamonds are Czech glass and the hole was only large enough for one cord, so I put the one cord through and the other three behind the bead and tied a knot.  No problem.  There is no "wrong", remember?

To get the two-look in the knotted section after the diamonds, I used one green and one blue cord for knotting square knots.  It's kind of fun and different.  Then after the white bead (hiding my transition), I did square knots with blue cord around the green.  I slipped an 8/0 white seed bead on the outer (knotting) cord on each side between the square knots.

The funky striped bead you see next is a Kazuri bead.  The hole was large enough to get all four cord through and again, it hides my transition to knotting a half knot spiral with the green cord. 

Macrame wrap bracelet tutorial by Sherri Stokey of Knot Just Macrame

Still with me?  Ready for more?  If it seems like your bracelet is getting really long, that's good.  Mine was about 30" finished, which allows me to wrap it around my wrist  four times.  My wrist is only 6" so you would think this would be too long, but it isn't.  You have to allow some for the bulkiness of the beads and for the bracelet wrapping over itself on your wrist.  As you're going along, try wrapping it on your wrist to check the length now and then.

So, back to the instructions.  Green spiral, then some lampwork beads with overhand knots in between followed by another spiral, this time using one green and one blue cord (when you're choosing the cords to knot with, choose the longest ones - a couple will be shorter if you did the two color knotting up above).  Overhand knot at the end of that section, then beads with a couple square knots between.  Bead to hide transition and back to knotting with the other color.

OK, now we're to the circle.  I took one green cord and one blue cord down each side of the circle and made larks head knots alternating colors.  So I did a blue larks head and then pulled the green cord from behind and tied a larks head with it.  When I got enough to cover the ring, I pulled all four cords together and started square knotting again.  You can totally skip this part if you don't have a ring the right size or if you're still not sold on larks head knots.  Totally up to you.

When you get a couple of inches from the length you want, it's time to add the button.  In this case I used a plain old four hole button.
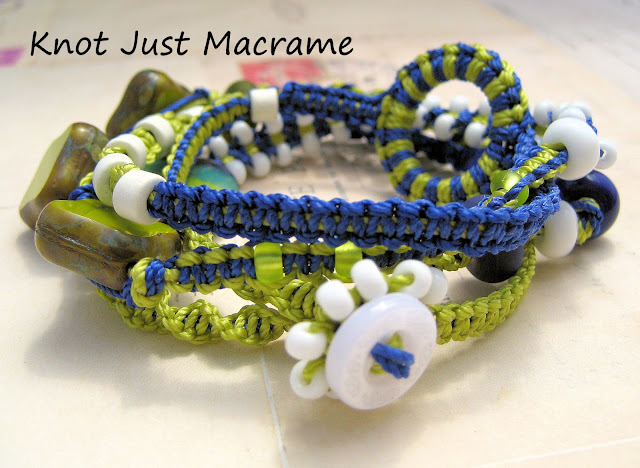
Macrame wrap bracelet in blue and chartreuse

I took both green cords up through one hole and down through another and did the same thing with the blue.  Now pull the button down the cord or pull the cords tighter - whatever it takes to get the button in the right place for the length you want.  Now you should have your long knotted strand and then the four bare cords showing AND the four cord ends hanging around in the same place, then the button on the very end.  Take two of the longest cord ends you have left and use those to make another square knot length - this time starting up by the button and covering all those loose cords.  Make sense?  This part will be a little fatter, since you have more "filler" cords, but this whole look is about imperfect, so don't sweat it.  Once you've knotted an inch or so, you can cut off the loose ends of your filler cords (it won't hurt to add a dab of glue in there if you're paranoid like me) and finish knotting until you meet the knotting where you left off, covering up all the bare cord.  Tighten the last knots up well and hit them with a little glue.  Trim off excess.

Whew.  Making this is WAY easier than talking you through it, lemme tell ya.  Short recap:

Two 150" cords, fold in half and make a loop (any kind you like).  Knot your bracelet, alternating colors and knots with random beads or whatever strikes your fancy.  You can make long sections of the same knot or you can make short ones or you can mix them up.  Beads are handy for hiding places where you switch knotting cords.  When you get the length you like, add your button or bead and fine tune length.  Continue knotting under the bead or button back toward the bracelet to cover the cords.  Glue.  Cut.  Wrap it around your wrist, throw your first in the air in victory and go show everyone you know what you made.  

And come back and show me what you do!  Or swing by my Facebook Page and post a photo.  Or just say hi.  Or heck, mock my tutorial - whatever feels right :) And if you find yourself wanting to continue playing with macrame, you can find tutorials in my Etsy shop for bracelets that look like this:

Micro Macrame bracelets in hydrangeas pattern by Sherri Stokey of Knot Just Macrame


October 19, 2012

Tutorial for Painting Lucite Flowers

Wanna know how to make some pretty painted Lucite flowers for yourself?  Do ya?  Huh?  Well, listen up, because I'm about to tell you.  You're going to need some kind of paint.  I used Vintaj patinas.  I know they adhere well to the Lucite and I haven't tried anything else, so what kind of paint you use is up to you.  I used:


You will also need some glaze.  I had this on hand, so that's what I used.


You will need something on which to mix those two things, as well as a mixing utensil.  I went low brow and used a paper plate and some toothpicks.  You'll also need some sponges.  I'm known for being a bit messy, so I opted for some disposable gloves and I covered my work area in newspaper.


You will also need some Lucite flowers.  I used some frosty white ones and some in colors. 


Pour a little puddle of glaze on your plate and add a few drops of patina.


Looks pretty cool when you drop it in there, huh?  Stir it around a bit and then dip your sponge in it and start sponging paint on the flowers.  I did several in one sitting (maybe a couple dozen?) so by the time I'd finished sponging one color and started with another, the first ones were dry enough to hit with that second color.  Just keep dabbing on paint until you get something you like.  I used blue, olive green and teal with a touch of bronze on the ones in the first photo.  Here's one during the process:


And here they are after I've done all the sponging I'm going to do:


Now comes the scary part:  antiquing.  Mix some glaze with a dark brown or black (or I guess you could use whatever you want - I used brown with a drop of black).  Use quite a bit of glaze in your glaze-to-patina ratio here.  Then go over the whole flower with it:


Told you it was scary.  Now wipe off the excess, leaving the color mostly in the cracks and crevices.  You should end up with something like this:
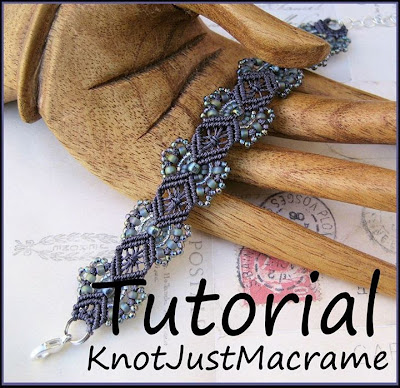

Let them dry well and then hit them with a coat of clear glaze to shine them up.  Sit back for a minute and admire your handiwork:


Here are some others I did in different colors earlier in the week, layered up with some brass filigree:


Now for the disclaimers:  I don't profess to be an expert at painting Lucite flowers with Vintaj patinas.  I don't know if it's against any rules and I don't know if the resulting floral artworks will last into the next millennium.  Nobody told me I couldn't do it, so I did.  It worked for me.  If you try it, I'd love some feedback.  Have fun!!
Related Posts Plugin for WordPress, Blogger...