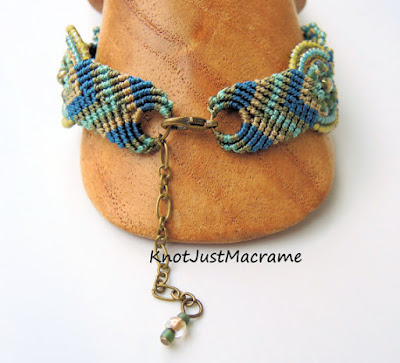
One question I hear quite a bit is about how I finish off many of my micro macrame pieces. I often use a split ring and clasp method. I like finished look it gives my macrame bracelets, the security the lobster clasps provide and the fact that I can make a piece adjustable by adding an extender chain. I've covered how to do this technique in many of my classes and tutorials, but I thought I'd put it here for easier reference or for folks who are only looking for this tidbit of information.
This method works best if your macrame design ends with a "v" shape for the ring to nestle down into. I use split rings rather than jump rings for the security (the small cords I use have a tendency to escape jump rings, no matter how tightly I think I have them closed). Closed or soldered rings will work as well. I add the clasp to my split ring before knotting. Start by turning the piece over. We'll be knotting this part from the reverse side and attaching each of the cords to the split ring using a larks head knot.
Tying a larks head knot around a ring is the same as tying one around a cord. Make the first half of the knot by bringing the cord through the top of the ring and back through the cord loop. Tighten the first half and then complete the second half of the same knot by bringing the cord up through the back of the ring and through the cord loop. I tie the cords starting from the center and working out to one side, then back to the center and out to the other side to help keep the ring centered in the bracelet. If you flip your piece over at the half way mark, it should look like this:
When you've attached all of the cords, the back should look like this:
When you flip it back to the front side then, it should look like this:
If you get stuck, just remember that you are making a larks head knot, just substituting a split ring for the holding cord you would normally be using. This video might help, too:
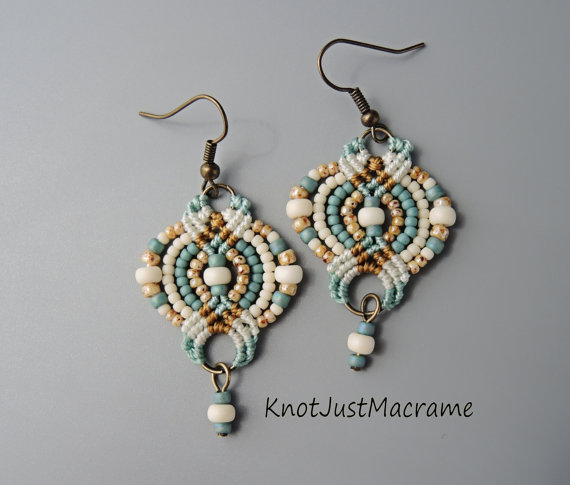
This technique is useful for finishing all sorts of micro macrame pieces, not just bracelets. I use it on earrings, too:
Hopefully this tutorial will help somebody somewhere down the line. My little way of paying it forward. If you like what you see here and you'd like to learn more, check out my micro macrame tutorials on Etsy or one of the many online macrame classes I offer at CraftArtEdu. Happy knotting!!


Great post, very helpful. I can remember I struggled with this process of finishing in the beginning. Thank you Sherri for being so generous to share.
ReplyDeleteThanks Sherri! After you put on all the Larkshead knots around the ring, you then cut them close and singe with fire? Also, the pair of earrings with the ring at the bottom, it looks like you incorporate the other strings as it looks like it gets thicker as you go. Is that a variation? If so, I would like to know how. Can you please help and send me how to do it? -Christina
ReplyDelete