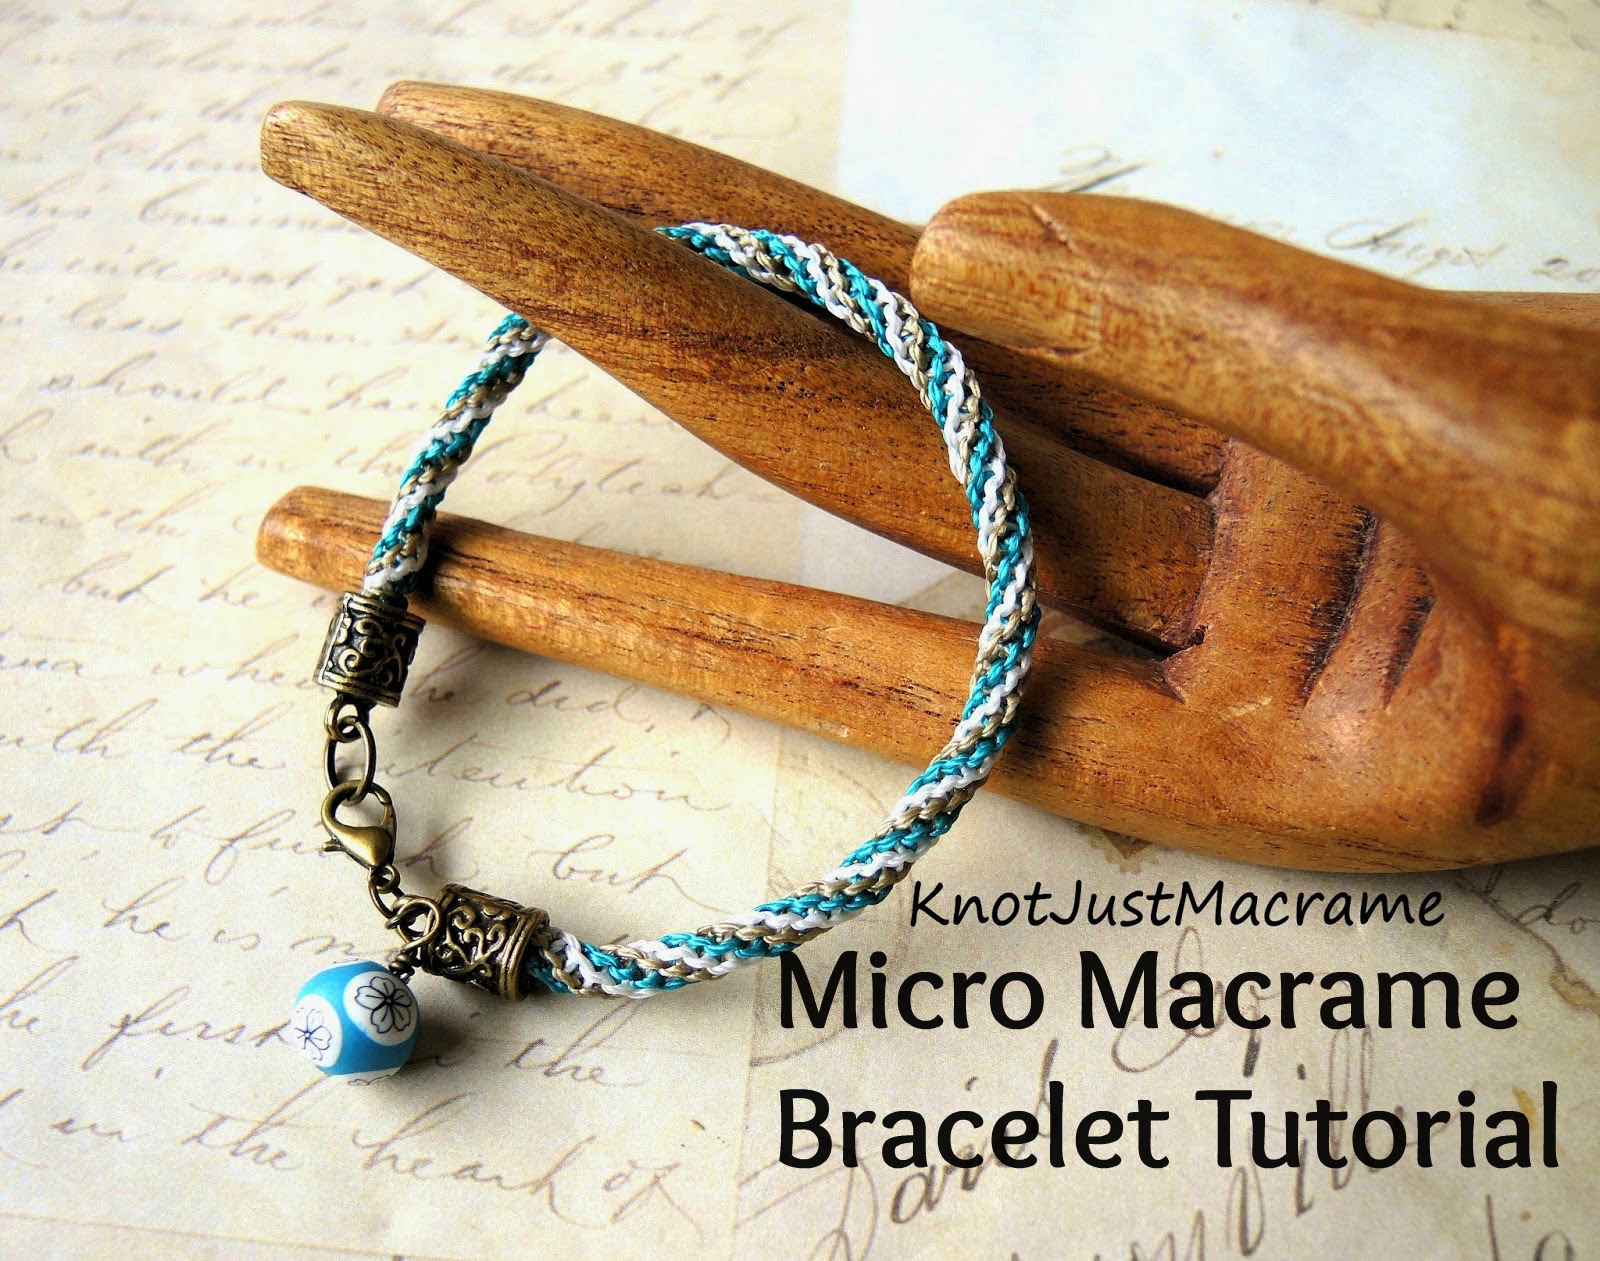
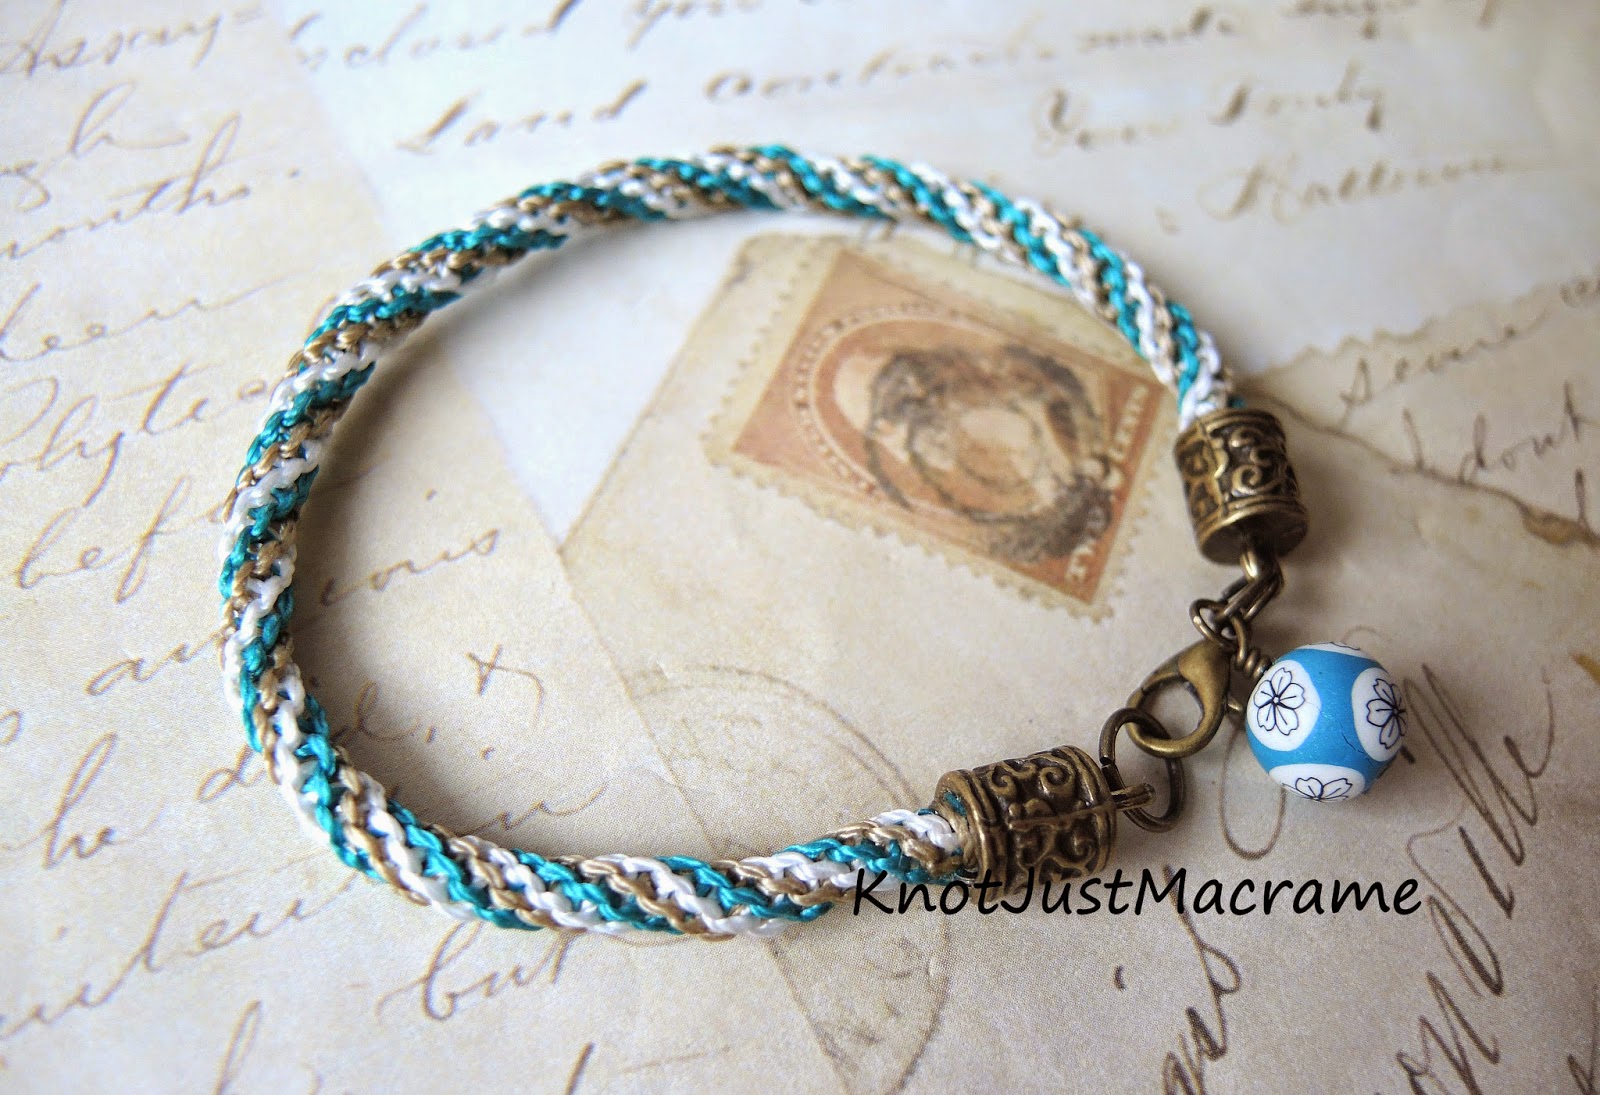
I'm in the mood for spreading some holiday cheer, so I'm giving you a little gift: a micro macrame tutorial that will teach you how to make this twisted bracelet. This one is pretty easy; in fact, I think if you can tie your shoes, you can probably make this. Really! Are you ready? Here's what you'll need:
To recap: scissors, glue, pliers, cord caps (4-5mm inner diameter), a clasp (I used a lobster clasp & ring, but you could use a toggle instead) and a jump ring for attaching, 3 colors of .5mm nylon bead cord (like C-lon or Superlon) and 1 color of 1mm Tex 400 cord. Hint: if you're confused about cord sizes, check out this post. Cut cord: for a 6" piece of macrame, I used 60" lengths of the .5mm cords (1 piece of each color) and a 22" length of the Tex 400. Straighten the cords (covered in this post if you need instructions). You can adjust the lengths of cord for the length of the piece you want, but you'll have to do the math.
Let's get a little closer in on the knots so you can see better.
Easy, right? You will notice the knots starting to spiral as you go along and that's exactly what you want. Once you have the length of knotting that you want, tie off the end with an overhand knot and glue on the caps.
And that's a wrap! Happy holidays & have fun knotting!
P.S. (because I always think of something more to say when I'm supposed to be finished) I added a little bead dangle to dress mine up a bit (polymer bead by Shane Smith).
P.P.S. For some reason the videos aren't showing up in the emailed version of this post. If you can't see the videos, you probably won't think this is a very good tutorial. Please go to the actual blog post and give me a chance to change your mind.
EDITED to add this helpful hint from Donna. Donna was having problems with her piece coming out more flat with ridges rather than a round cord like shown. The secret to avoiding this issue is to hold your work upright when you knot (so it looks like a squid like in the 3rd video). Don't think of this has being a flat half knot. Don't pin the length of your work down flat and don't hold the filler cord down. Use just one pin to hold it down while you work or even use a safety pin and pin it to the leg of your jeans as you knot - that will force you to hold it up off of the surface while knotting. Thank you, Donna, for your help!!


Nice tutorial - thanks for posting it.
ReplyDeletecryssT
Thank you, this is so exciting I can hardly wait to try it.
ReplyDeleteThank you for posting this, I need to go get some Tex 400 cord so I can try it!
ReplyDeleteThank you! Great tutorial and I am going to try it!
ReplyDeleteHappy Holidays!
You are awesome, Sherri :) TFS
ReplyDeleteI always wanted to know how to do this! Thank you so much for going to all the trouble of posting the tutorial AND with video instructions no less. Merry Christmas!
ReplyDeleteThanks forthe tutorial!Happy New Year and may it be a great one!
ReplyDeleteYou said easy? It's been a long, long time since I tried macrame.
ReplyDeleteJust from the still pictures it looks like kumihimo braiding! Very pretty!!
ReplyDelete