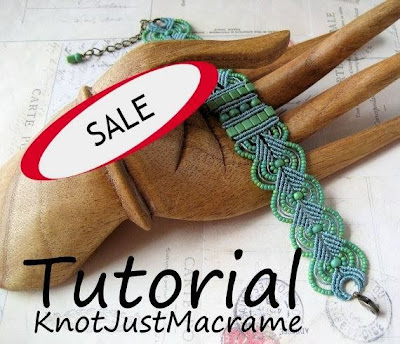
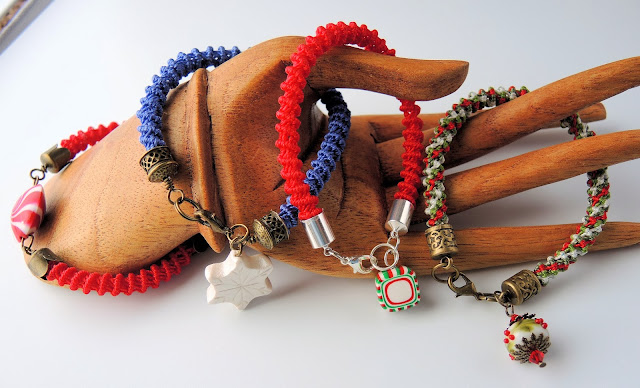
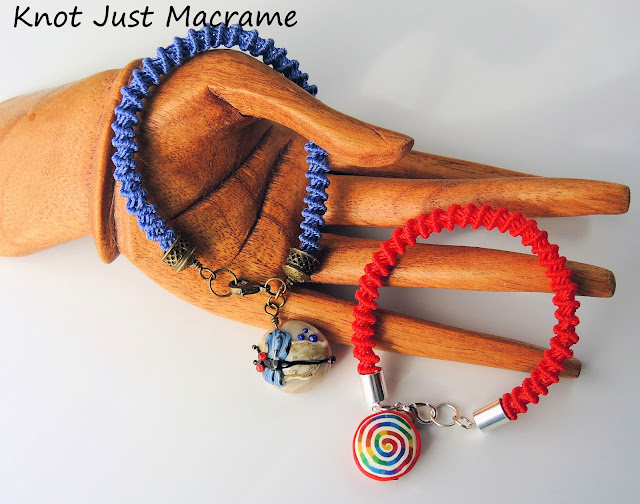
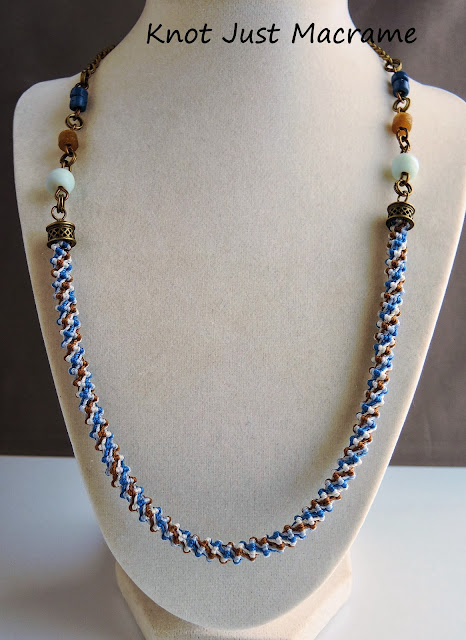
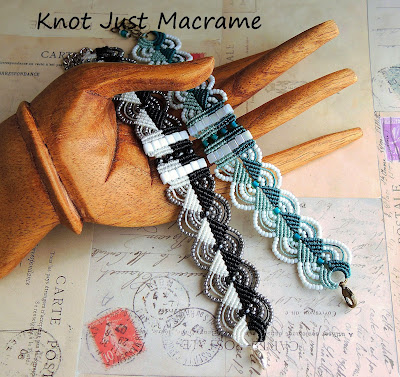
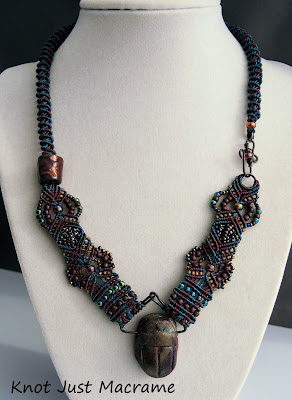
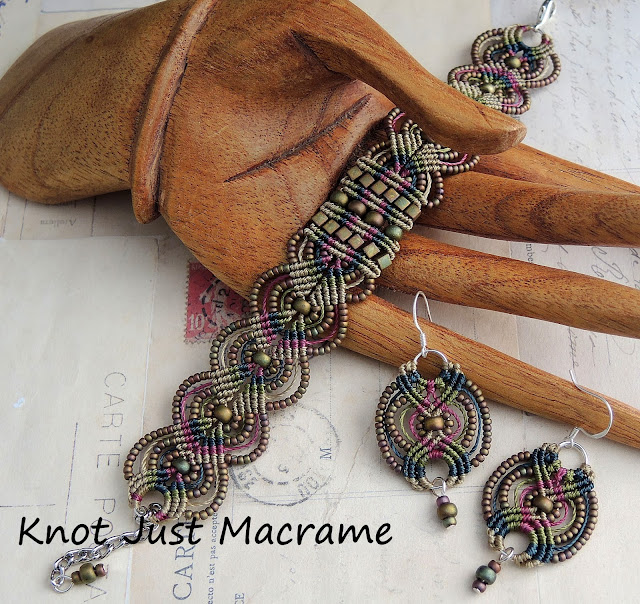
I thought I'd start a little tutorial series here on my blog and show you how to do some of the macrame knots that I use in micro macrame pieces like this bracelet. The most common knot in the micro macrame pieces I make is the double half hitch (DHH). All of the knots you can see in this piece are double half hitches.
In order to make this knot, you need one cord called a "holding" cord and another called the "knotting" cord. The cords will change positions throughout a design and a cord that is the holding cord can become a knotting cord in another row, but that's all stuff for another lesson. In this post, we're just going to focus on making the knot, and for this knot, you need one holding cord and one knotting cord.
The holding cord will be the one you tie the knot around - the knot bearer, if you will. The knotting cord is the one you actually use to tie the knot.
Did you get that? Start with the knotting cord under the holding cord. Take it up, over and around the holding cord and then back through the loop. Make the second half of the knot (it's a DOUBLE half hitch, remember) the same way - up, over & through the loop. Tighten neatly. One trick to a nice looking macrame piece is consistent tension, so work on that. Tight but not too tight.
Working the knot from left to right will make a row that goes across from left to right. But what if you need to come back across your piece? You will need to know how to make the same knot from right to left:
Looks easy enough, right? You can do this! And if you can do this, you can make this:
You can find the tutorial for this bracelet in my Etsy shop
here. To make it easier to try out micro macrame without having to buy a bunch of cord and beads, I've put together some
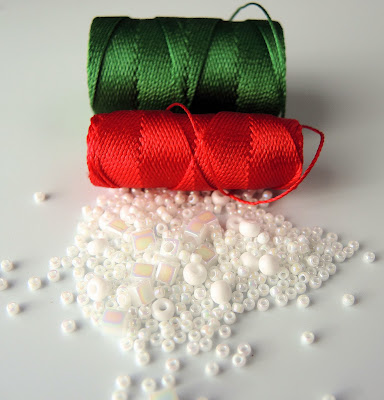
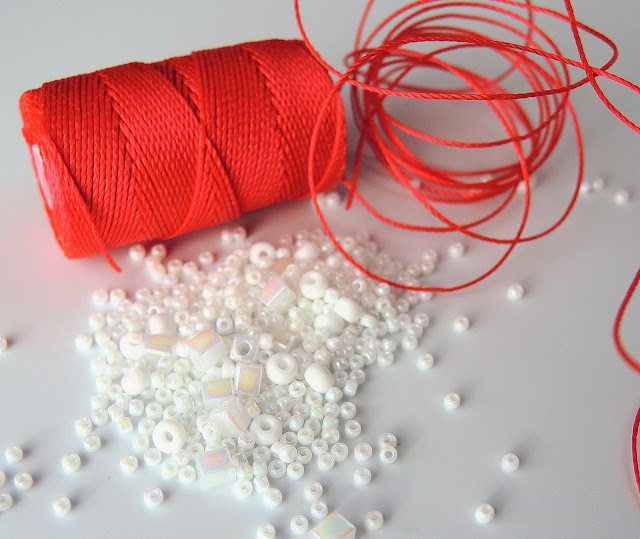
kits for you. They have all of the cord, beads and findings you need to make one bracelet. Go forth and knot!

