I have supplies stashed around my house for projects I really want to try. Someday. That darned loom is taunting me from the corner of the closet and the torch fired enamel supplies have clearly demonstrated their superiority over me. The kumihimo disk, on the other hand, is just hanging out waiting patiently. I like that in a craft supply - patience.
At one point I decided I'd have to give polymer clay a whirl. I mean, some of those talented folks make it look so darned easy, surely even I could make something passable. Right? So I rushed out and bought some clay paraphernalia (okay, mostly I rushed to my laptop and ordered it, but I will admit to taking some liberties in the name of good storytelling). While searching for all the things I had to have, I came across epoxy clay and thought I had to have some of that, too.
Months passed and more months and more months and.. well, you get the picture. I actually did get a package of polymer clay out at Christmas time intending to make an ornament to preserve my grandson's adorable little hand print for posterity, only to discover that it was hard. Well, I guess it took the pressure off me to use it, huh?
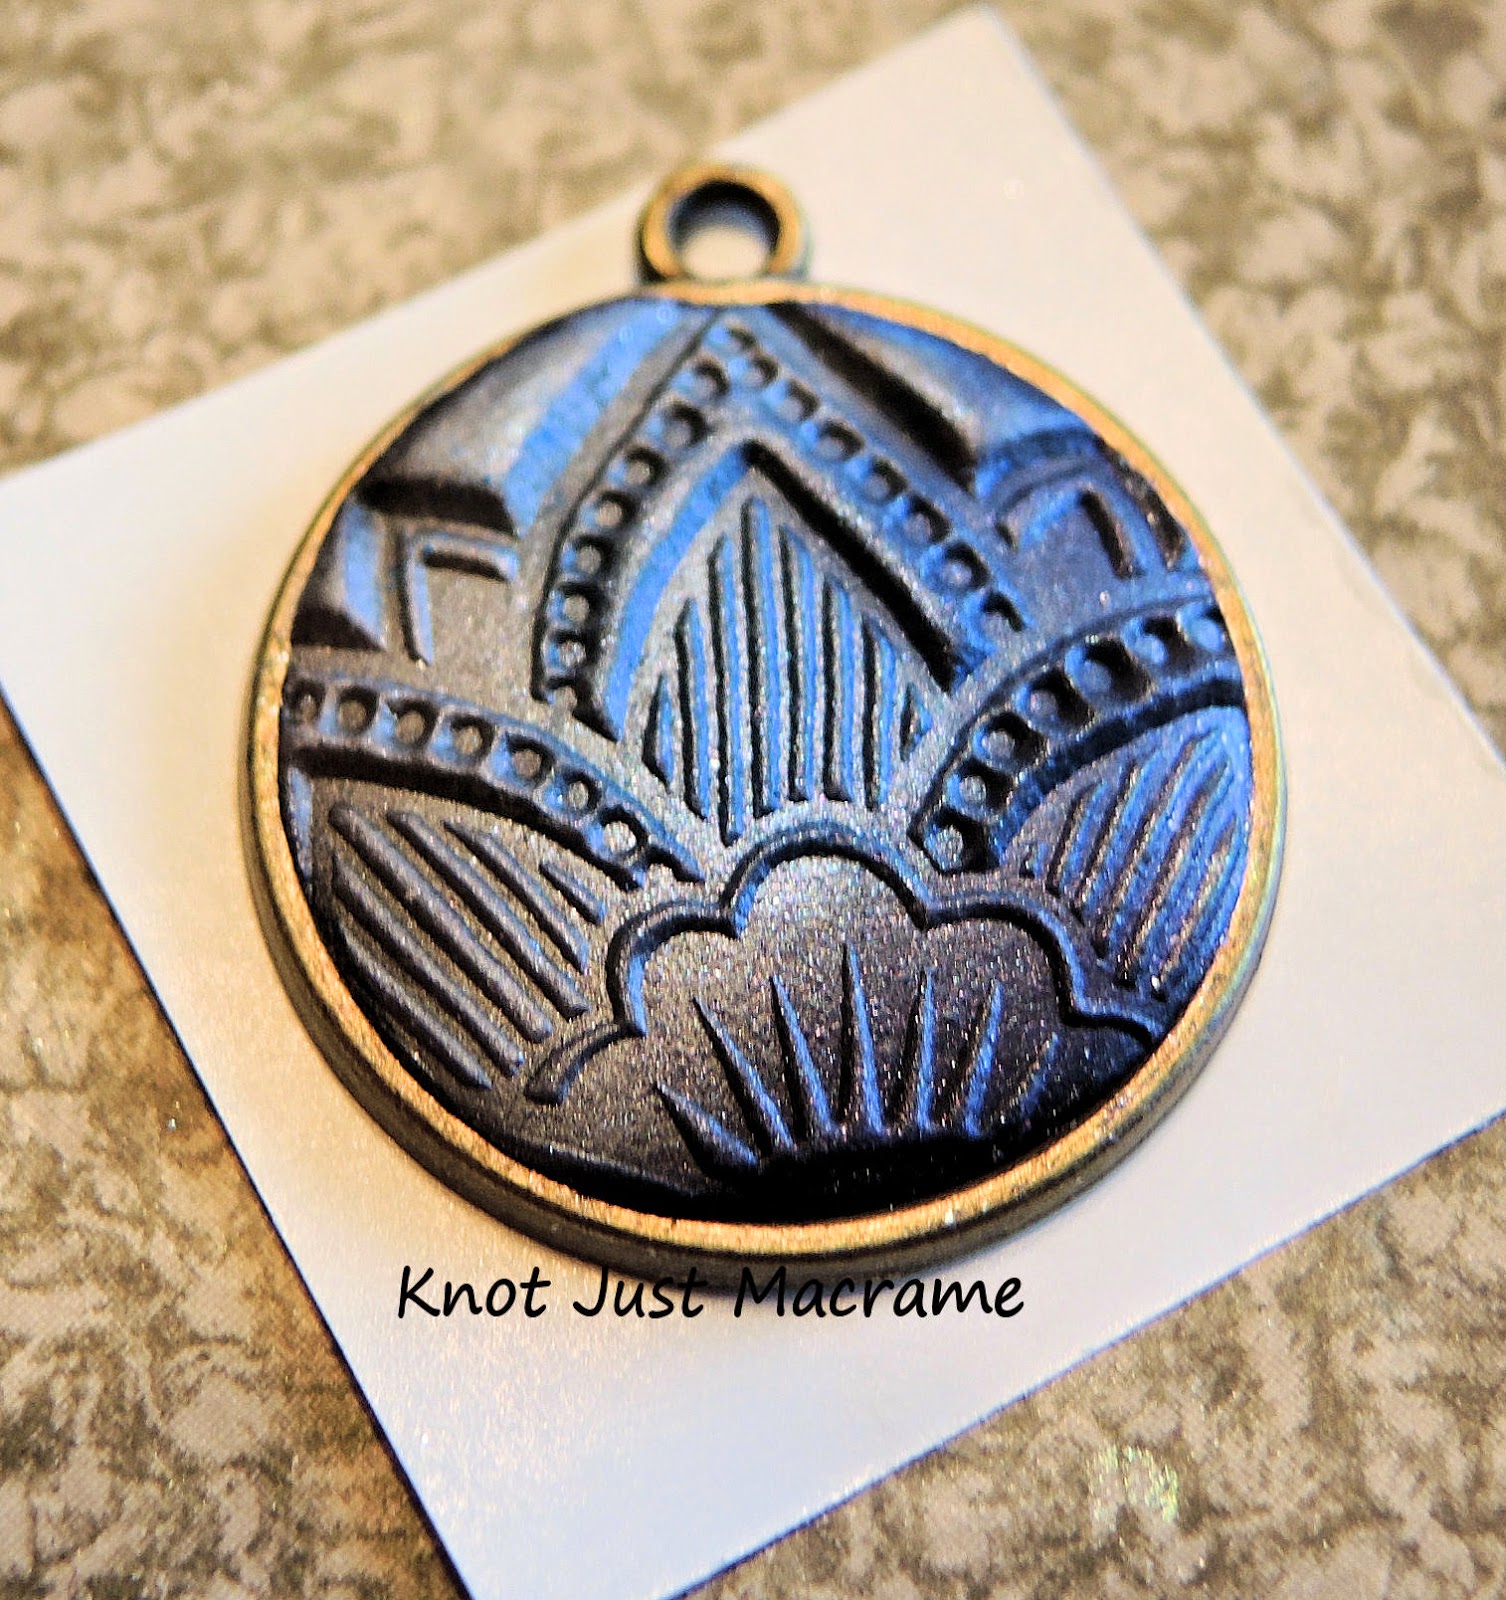
Anyway, I got a wild hair the other day and decided to mess with the epoxy clay. Apparently since it's packaged in two parts that have to be combined before it will harden and set properly, it has a longer shelf life than polymer? I don't know that for a fact, but my epoxy stuff was fine. I worked the two parts together, then rolled little pea-sized balls and pressed it into bezels. To get a smoother surface and get rid of any fingerprints, I dipped my finger in a little water and rubbed it over the surface of the clay. It seemed to work pretty well.
You might have noticed the rather impressive array of mineral powders in that first photo at the top of this post? That was another little collection/obsession of mine - mineral makeup. I don't know why I thought I needed to have every color under the sun, nor why I hung onto it for all these years. Apparently it was just for this project. I smeared it on the surface of the clay and did some rather impressive blending, too.
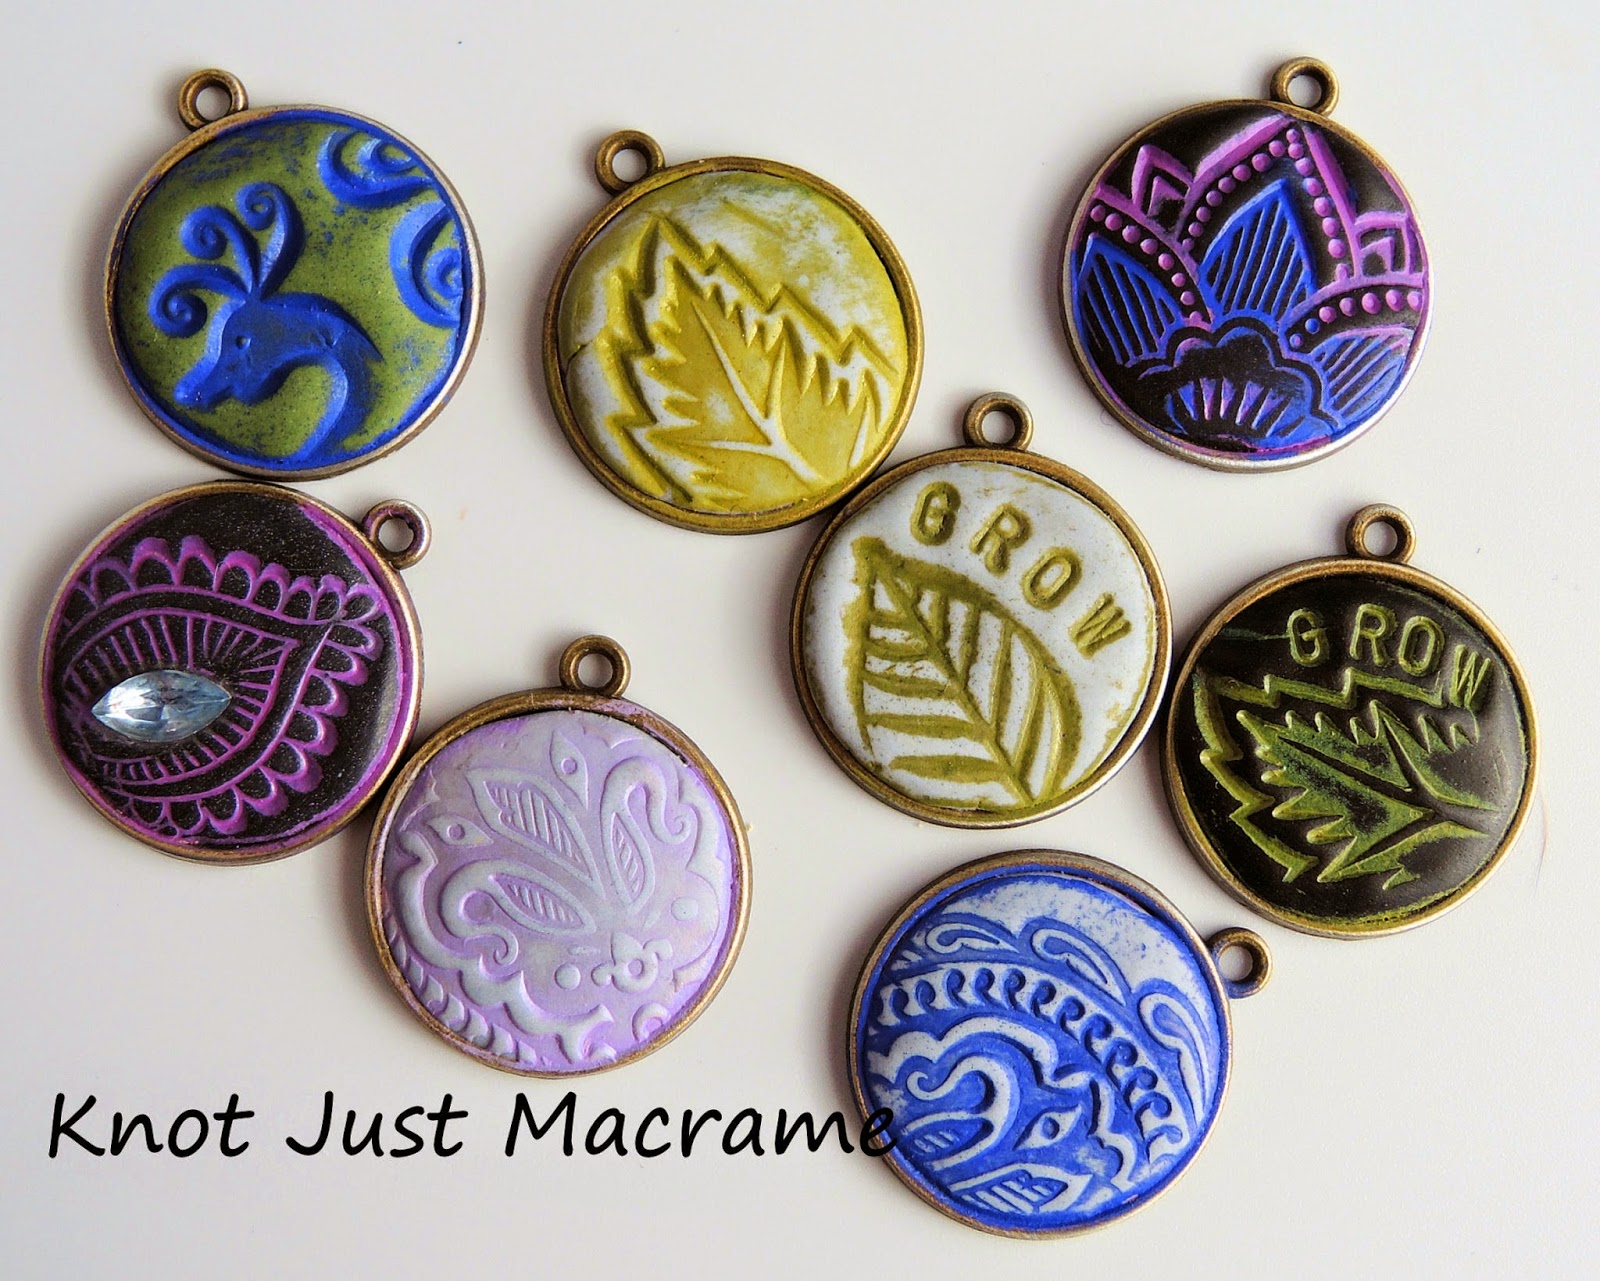
I used some stamps I had laying around here to stamp a design into each of the little charms. I didn't have too much trouble with the stamps sticking in the clay, and that might have been because of the mineral powder. I even dug out my letter stamping set and stamped words into the clay on some of the pieces.
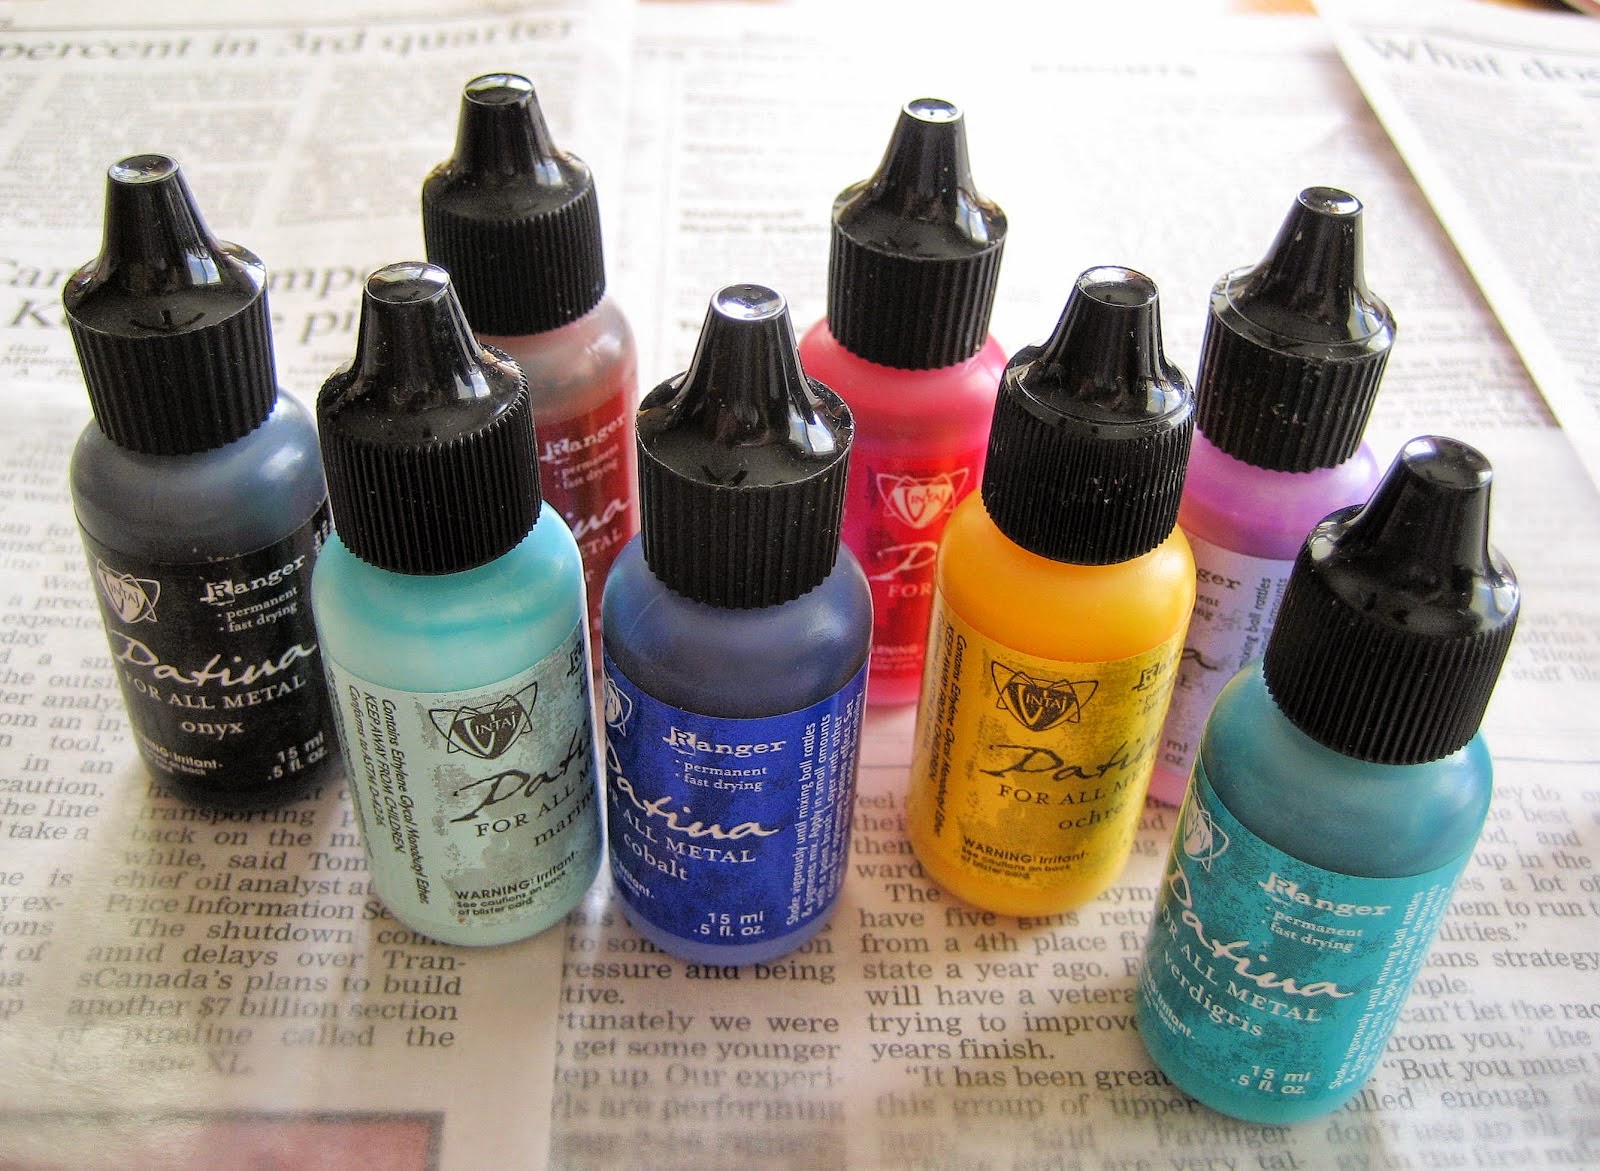
I really like the sheen and the subtle colors, but I was hell-bent on experimenting and using more of my craft supplies, so I busted out the Vintaj patinas.
These I have used before. I even used them to paint lucite flowers and wrote a little step by step you can find here. I don't profess to be any kind of artist when it comes to painting, so I didn't attempt anything too complicated. Mostly I just covered the charms in patina then wiped it off. After that I hit the high points with a little sanding to reveal some of the clay color underneath. I did get some nice results with that.
All in all, I think the experimentation was pretty successful. I probably should have taken pictures of some of the not-so-successful pieces, but hey, it's my blog.


These are awesome!! Thanks so much for showing your process and experimentation. It makes me want to break out some of my hoarded craft supplies and play too! I'm looking forward to what comes next with these!
ReplyDeleteThey look pretty darn good imo for a first attempt.
ReplyDeleteLove these!!!
ReplyDeleteYou are so funny. It all sounds so much like me. I did the same thing, tried the kumihimo disk and was not hooked on that. I also have polymer clay and tools stashed, like yours, I imagine it has dried. I am hooked on your micro macrame. You have done a fantastic job of creating with the epoxy clay. I love them. I have some Vintaj patinas that have not been opened. And the list goes on. Keep up the good work. Just do not leave the micro macrame.
ReplyDeleteYep, I too have things stashed all over the house from the kumihimo disk, to resins, to patinas, epoxy clay, polymer (I'm terrible at polymer) and the list continues. I tell myself that I'll get to them 'someday'. (right!?) Your epoxy pendants are super and I love the colors you were able to achieve - brilliant!
ReplyDeleteThey looked nice plain but they look great with the patina's on them.
ReplyDelete~cryssT
Sherri, I love these. I have some epoxy clay gifted me by Melinda Orr and I haven't worked up the nerve yet to try. This was great inspiration. One of my hold backs has been the bezel. The ones you used here look great (if you don't mind sharing where were they purchased). I love each and every one of them and think you did a fantastic job.
ReplyDeleteThank you! I've had these bezels for some time now - I think I might have picked them up from Objects & Elements. You can find lots of them on Etsy, though, and this site has a great selection: http://www.sunandmooncraftkits.com/
DeleteExperiment or not excellent results. I have been sitting and looking through my craft supplies trying to figure out what to do next, thanks for the inspiration. Time to start on some gifts for the ladies at church.
ReplyDeleteExperiment or not excellent results. I have been sitting and looking through my craft supplies trying to figure out what to do next, thanks for the inspiration. Time to start on some gifts for the ladies at church.
ReplyDelete